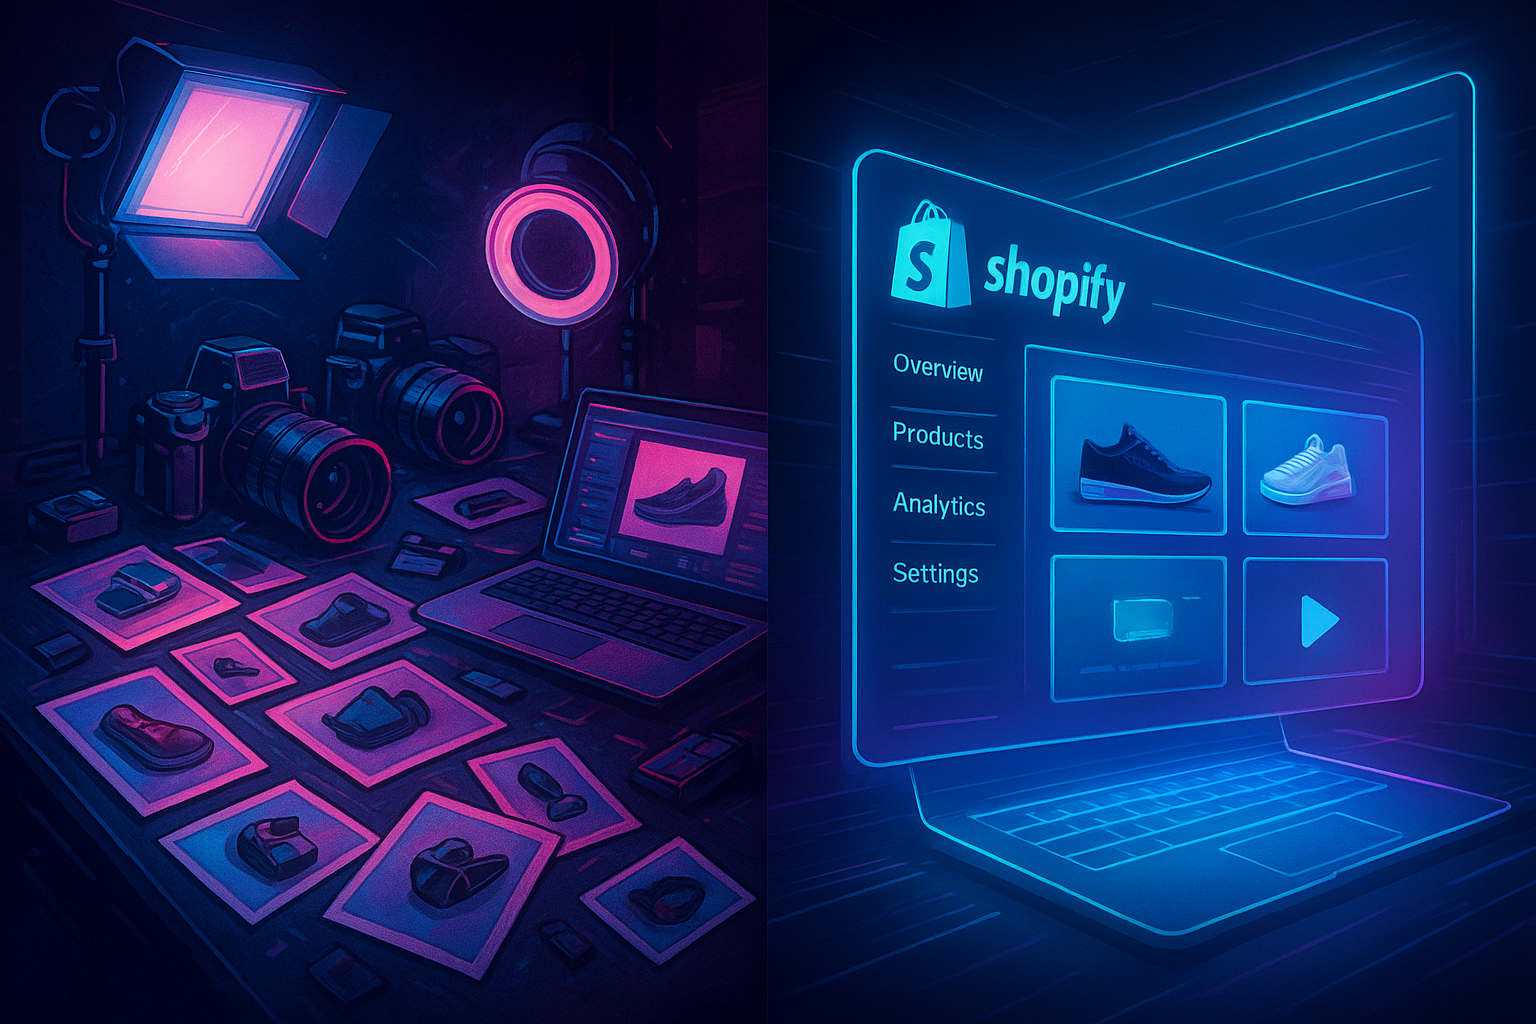
Shopify Guide To Automating Product Image Workflows
If you’re adding or updating products regularly on Shopify, manual image editing quickly becomes a bottleneck. Resizing, background removal, model shots, lifestyle scenes, social snippets… It’s repetitive, time-consuming, and expensive to outsource.
The good news: you can automate most of this.
In this guide, you’ll learn how to build an automated product image workflow for Shopify that saves hours each week, keeps your catalog consistent, and boosts conversions.
Why Automating Product Images Matters for Shopify SEO & Conversions
Product images are one of the strongest conversion levers on your store:
- First impression: Shoppers decide in seconds if your brand looks trustworthy.
- Conversion rate: Clear, consistent visual storytelling increases add‑to‑cart and reduces returns.
- SEO: Optimized images improve page speed, accessibility, and organic traffic.
But manually editing every new product batch just doesn’t scale. Automation helps you:
- Keep all product photos on-brand (angles, lighting, backgrounds).
- Roll out new collections faster without waiting on designers.
- Produce lifestyle and UGC-style creatives for ads and social from the same base assets.
One of the easiest ways to do this inside Shopify is with an integrated app like Supra AI Photo Studio, which plugs straight into your admin and automates the repetitive parts of product photography.
Step 1: Standardize Your Product Image Rules
Before you automate anything, you need rules. Automation magnifies whatever process you already have—good or bad.
Define standards for:
-
Dimensions & ratio
- Example: 2048×2048 px, 1:1 square for product thumbnails.
- Consistent aspect ratio means clean collection grids and no layout jumps.
-
Background style
- Pure white, light neutral, or brand color?
- When do you use lifestyle backgrounds vs. clean studio shots?
-
Angles & shots per product
- Front, side, close-up, packaging, in-use shot, model shot, etc.
- Decide a core set so your catalog looks coherent.
-
File naming & alt text (for SEO)
- Include target keywords and product type in file names and alt text.
- Example filename:
women-black-leather-crossbody-bag-front.jpg - Example alt text:
Women's black leather crossbody bag on a minimalist studio background.
Once you’ve defined this, your automation has a clear target outcome.
Step 2: Centralize Image Editing Inside Shopify
The fastest workflows keep you inside Shopify—no downloading, re-uploading, or switching between tools.
Supra AI Photo Studio is built specifically for this:
- Install it from the Shopify App Store:
👉 https://apps.shopify.com/supra-ai-photo-studio - Open it directly from your Shopify admin and select any product.
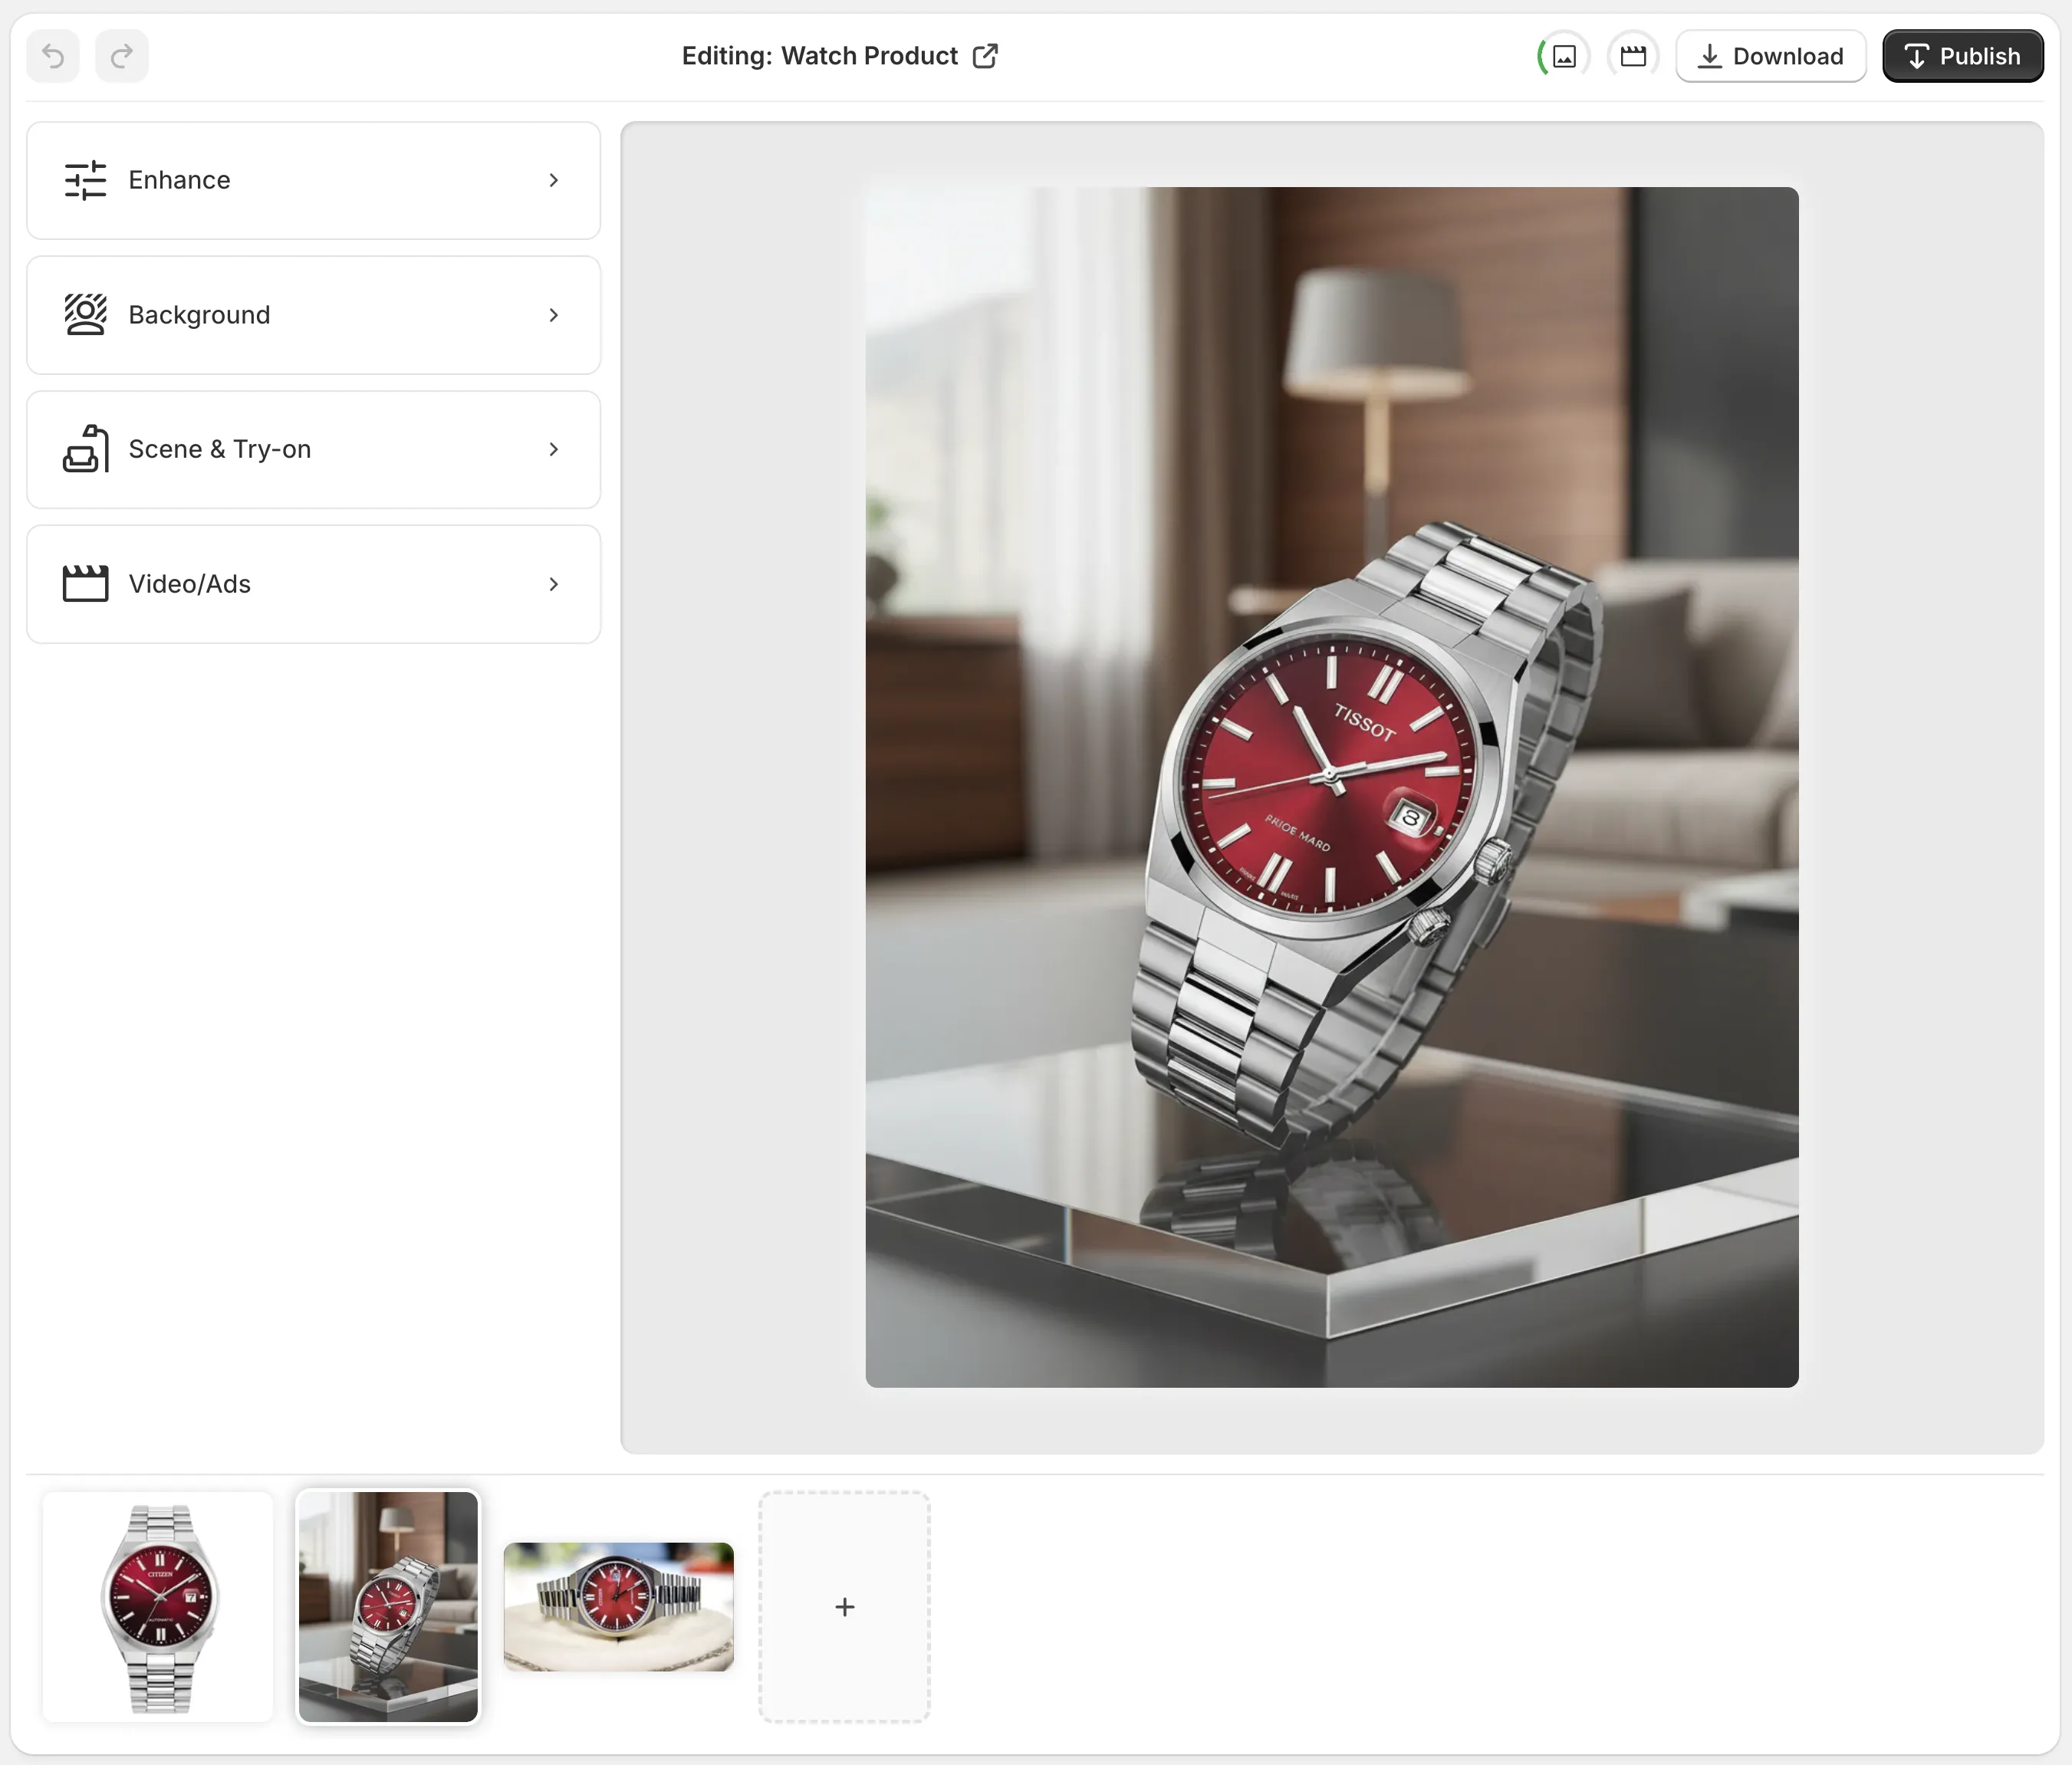
You’ll see the editor with four main areas (top bar, tools, canvas, image gallery), so you can:
- Pick a product from your catalog.
- Edit and generate new images with AI.
- Publish them back to the same product listing in one click.
This centralization is key to building a smooth automated image pipeline.
Step 3: Automate Core Image Cleanup (Backgrounds, Quality, Size)
Every product image pipeline has a few non‑negotiable steps that can be fully automated.
3.1 Background removal & isolation
For most products, the first step is isolating the item:
- Remove any messy background.
- Make it easier for AI to understand your product’s shape and edges.
In Supra AI Photo Studio, use the “Isolate Product” / background remover tool to:
- Strip out distractions.
- Get a clean cut of just the product.
This isolated version becomes your master source for future lifestyle scenes, mockups, and try‑ons.
3.2 Auto enhancement (sharpness, lighting, denoise)
Bad lighting and blur kill trust. Instead of fixing each shot by hand, use AI enhancement.
With Supra AI Photo Studio’s Auto Enhance, you can:
- Correct exposure and white balance automatically.
- Denoise and sharpen soft images.
- Adjust colors to a natural, accurate look.
Run this step as a default action on new uploads to ensure a minimum quality baseline for every product.
3.3 Consistent sizing & aspect ratio
Automating resize and cropping ensures your grid and PDP layout stay clean.
Inside the app, you can generate new images at fixed target dimensions (for example the size you use across your theme). This keeps everything consistent without manual Photoshop work.
Step 4: Automate Lifestyle Scenes & On‑Model Images
Plain white-background shots are table stakes. To increase conversions, you want:
- Lifestyle photography that shows the product in context.
- On‑model try‑ons for apparel, jewelry and accessories.
Doing this with traditional shoots is expensive. With AI, most of it is automated.
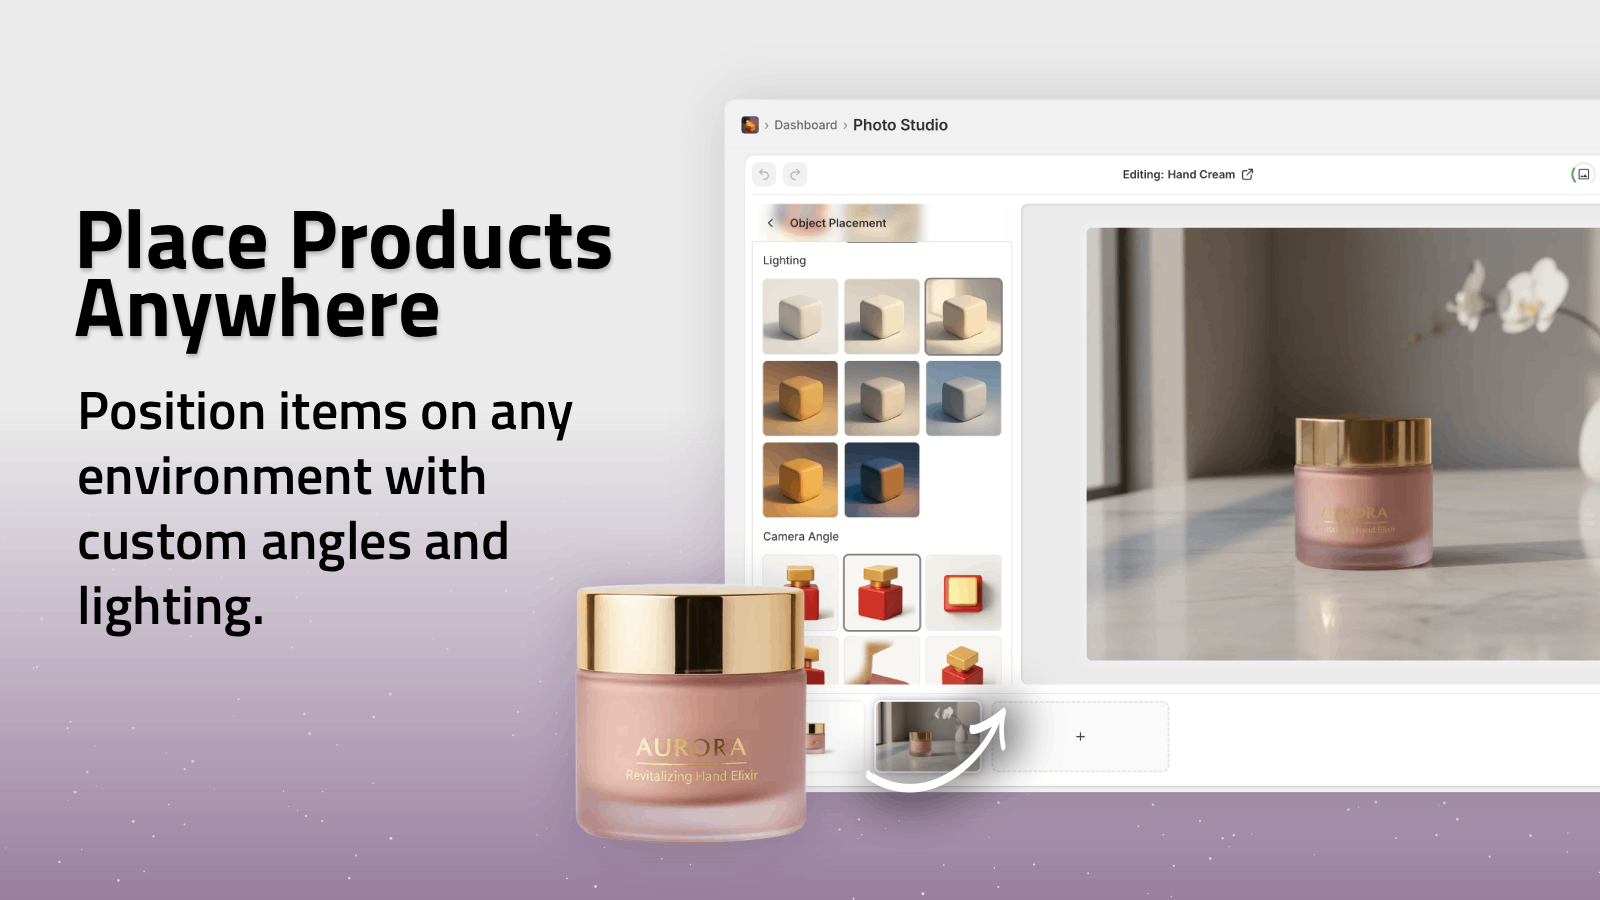
4.1 Object placement: put products anywhere in seconds
Use Object Placement in Supra AI Photo Studio to automatically drop your product into:
- Kitchens, home offices, living rooms.
- Outdoor scenes (parks, beaches, city streets).
- Luxury boutiques or studio setups.
You control:
- Surface type (wood, marble, fabric, glass…).
- Environment (cozy, minimalist, luxury, techy…).
- Camera angle & lighting style.
This lets you batch‑create lifestyle images for an entire collection in minutes.
4.2 AI try‑on: scale apparel and accessory imagery
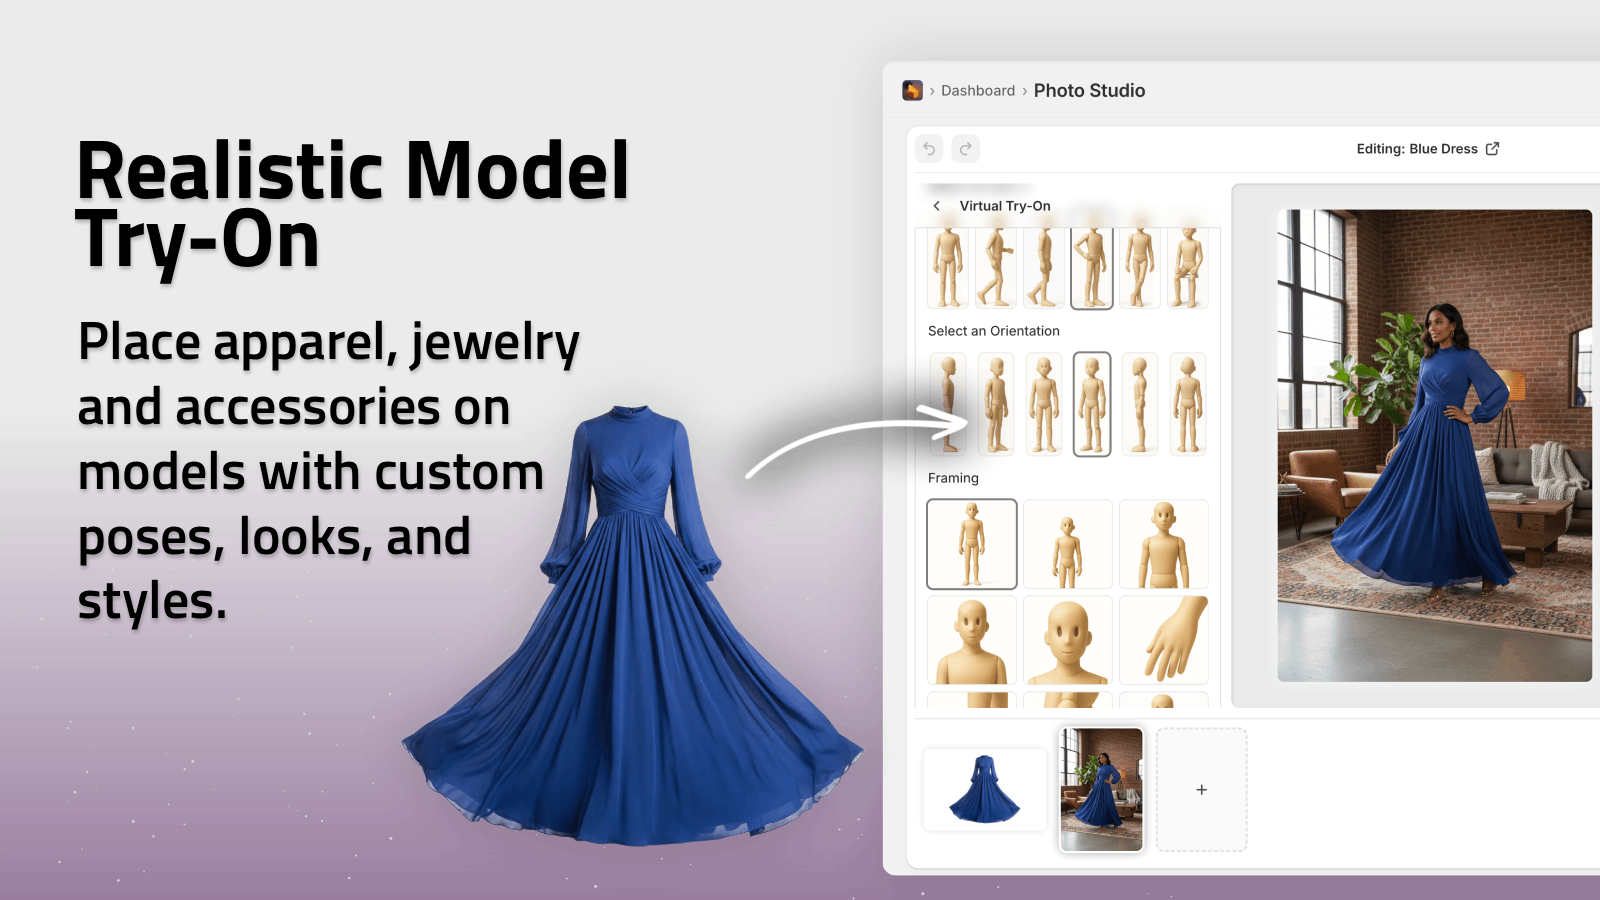
For fashion and accessories, automated AI Try‑On is a game changer.
With Supra AI Photo Studio you can:
- Put clothing or jewelry onto realistic AI models.
- Change pose, skin tone, body type, and style while preserving product accuracy.
- Maintain consistent models across a collection.
This replaces many model shoots and lets you test different audiences or styles quickly.
Step 5: Automate Image Variants for Marketing Channels
You can go beyond product pages and generate channel-specific creatives from the same base assets.
5.1 UGC-style videos from product photos
Short vertical videos are now essential for:
- TikTok
- Instagram Reels
- YouTube Shorts
- Paid social ads
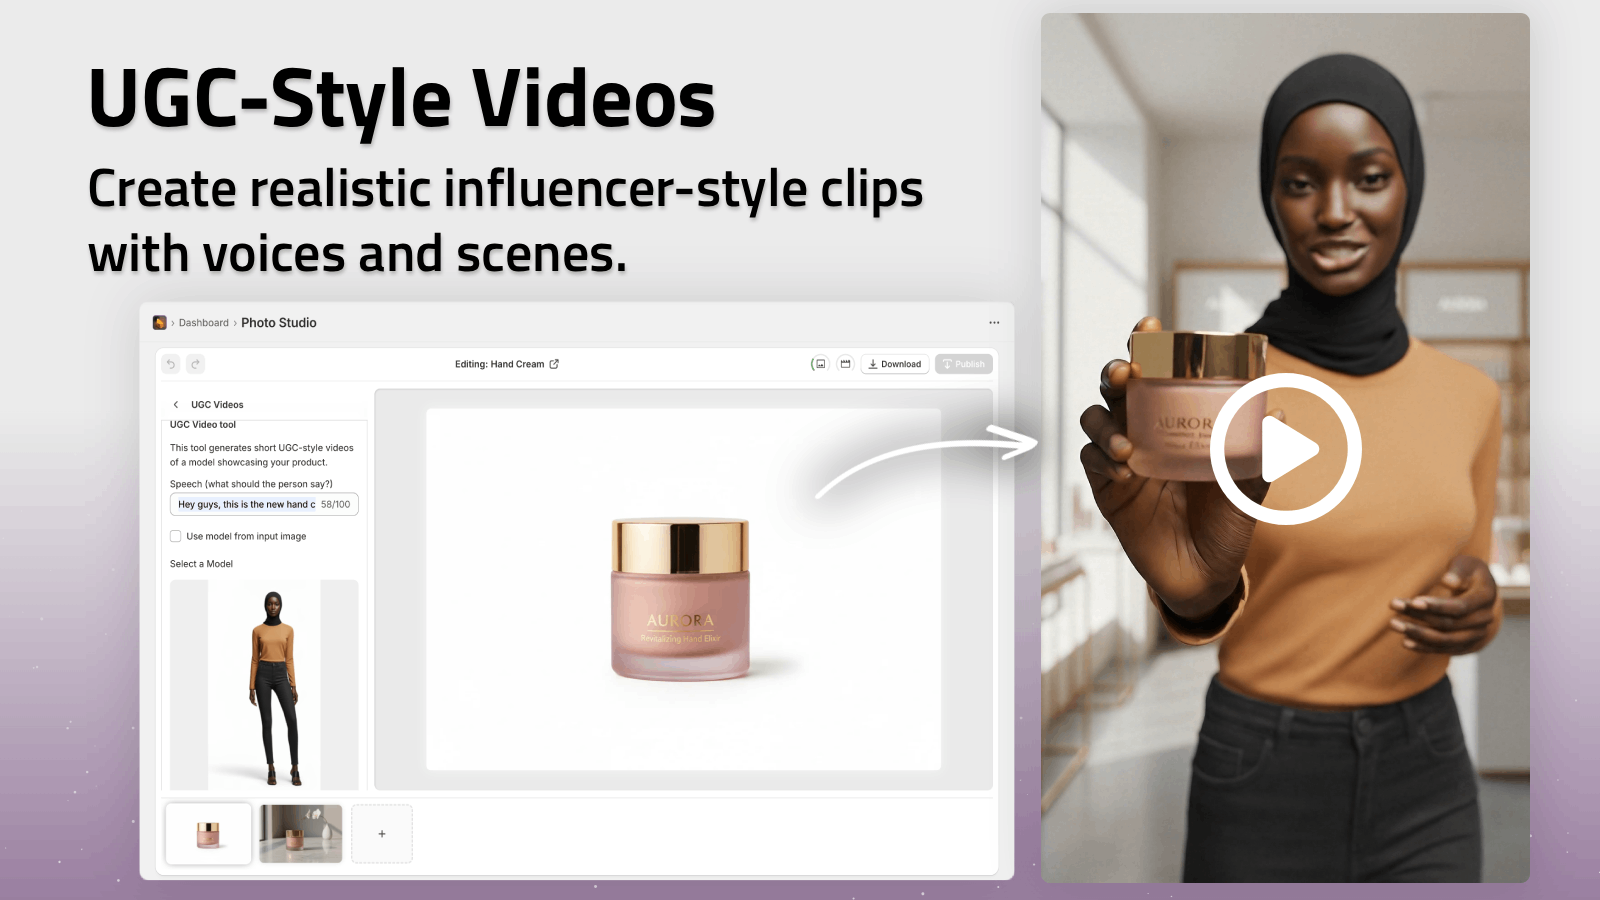
Instead of recording them manually, use Supra AI Photo Studio’s UGC Video Generator:
- Turn a single product image into influencer-style videos.
- Choose the voice, vibe and setting.
- Export for social or ad platforms.
5.2 B‑roll and cinematic product videos
For higher‑end ads and homepages, automated B‑roll is ideal:
- Cinematic product drops.
- Dust, liquid or smoke splash effects.
- Slow motion and impact animations.
Supra AI Photo Studio lets you generate short product clips while preserving fine details, ready to plug into:
- Meta / TikTok ads.
- Homepage hero sections.
- Launch emails and landing pages.
Step 6: Build a Repeatable Workflow for New Products
To truly automate, define a step‑by‑step template your team follows for every new product.
Here’s a simple example workflow using Supra AI Photo Studio:
- Upload original photos to the product in Shopify.
- Open the product in Supra AI Photo Studio.
- Run Isolate Product + Auto Enhance on the main image.
- Generate:
- 1–2 clean studio images (for thumbnails & marketplaces).
- 2–3 lifestyle scenes via Object Placement.
- 1–3 AI Try‑On images (for fashion products).
- Create 1 UGC video and 1 B‑roll video for marketing.
- Publish the selected assets back to the product.
- Add SEO alt text and check file names.
You can document this as a short SOP for your team so anyone can follow it—no design skills required.
Step 7: Monitor Performance and Optimize
Automation isn’t just about speed—it’s about results.
To maximize ROI from your automated image workflow:
-
Track key metrics:
- Product page conversion rate.
- Time on page and scroll depth.
- Add-to-cart rate.
-
A/B test image sets:
- Plain studio set vs. lifestyle set.
- Single hero image vs. carousel of 5+.
- On‑model vs flat lays.
-
Refine prompts & styles:
- If certain lifestyle styles convert better (e.g., warm, cozy kitchens vs ultra-minimal), lean into those when using Object Placement.
Because Supra AI Photo Studio makes it cheap and fast to generate variations, you can run more tests and converge on what actually works for your audience.
How Supra AI Photo Studio Fits Into Your Automation Stack
There are many generic design tools, but for Shopify product image automation, you want something:
- Inside your Shopify admin.
- Built specifically for product photography.
- That can handle images and short videos.
Supra AI Photo Studio gives you:
- Background remover & replacement.
- Auto enhancement and upscaling.
- AI Try‑On for fashion.
- Object placement in any environment.
- UGC videos and cinematic B‑roll.
- Mockup embedding for POD (mugs, apparel, posters…).
You can start on the free plan to test your workflow, then upgrade when you need more generations:
- Free: 4 AI images / month
- Standard: 60 AI images / month
- Professional: 300 AI images + 5 videos / month
- Agency: 1000 AI images + 20 videos / month
👉 Explore plans and install the app here:
Supra AI Photo Studio on Shopify App Store
Or see it in action in this short demo trailer:
Watch the Supra AI Photo Studio demo
Putting It All Together
You don’t need a big team or complex tech to automate your Shopify product image workflows. With the right system, even solo merchants can ship studio-quality visuals at scale.
Recap of your automated image pipeline:
- Define image standards and SEO rules.
- Centralize editing inside Shopify using Supra AI Photo Studio.
- Automate cleanup: background removal, enhancement, sizing.
- Use AI for lifestyle scenes and model try-ons.
- Auto-generate UGC and B‑roll videos for marketing.
- Follow a repeatable SOP for every new product.
- Measure performance and double down on what converts.
Start by picking one collection and running it through this workflow. Once you’ve seen the time savings and visual impact, you can roll it out to your full catalog.
👉 Ready to automate your product imagery? Install Supra AI Photo Studio and turn plain photos into consistent, high-converting visuals in minutes.