How to A/B Test Product Images to Increase Your Shopify Store Revenue
Why A/B Testing Product Images Is a Revenue Superpower
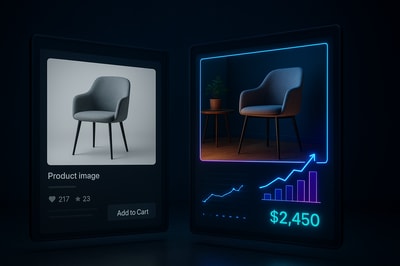
Your product photos are often the only thing shoppers truly evaluate before deciding to buy. You can have perfect pricing and copy, but if the images don’t instantly build trust and desire, you lose the sale.
A/B testing product images is one of the fastest ways to:
- Lift conversion rates without more traffic
- Decrease ad costs (better CTR and ROAS)
- Increase average order value by making products feel more premium
- Find out what actually works, instead of guessing
And with AI tools like Supra AI Photo Studio, you can generate multiple test-ready variations of your images in minutes, not days.
What Is A/B Testing Product Images?
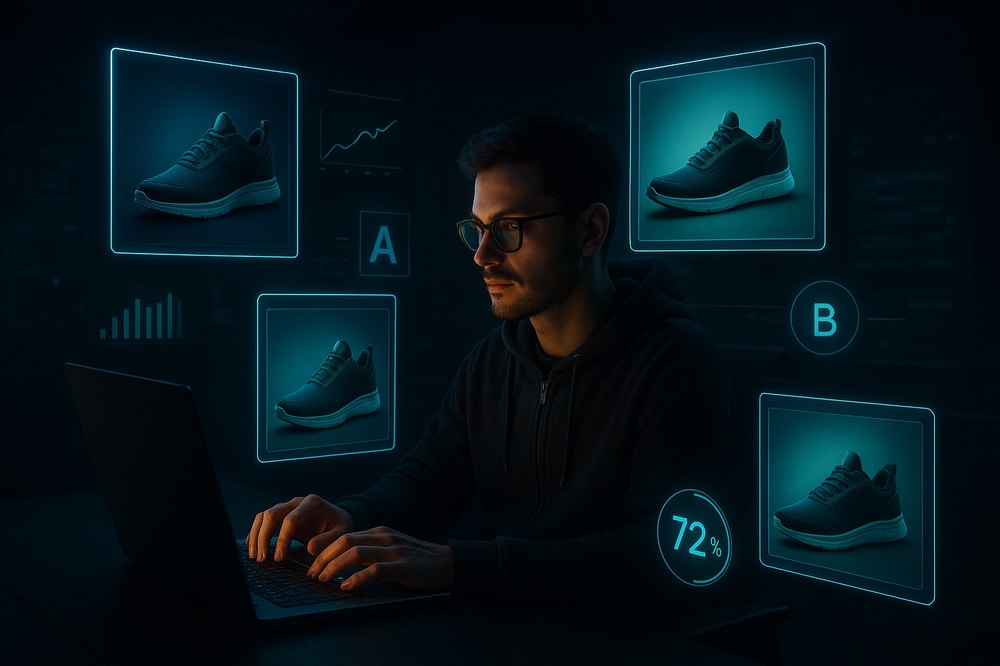
A/B testing product images means showing two (or more) versions of a product page or ad with different visuals and measuring which one performs better.
- Variant A: Your current product photo (the control)
- Variant B: An improved or experimental photo (the challenger)
You then compare:
- Conversion rate (add to cart, purchase)
- Click-through rate (on ads or featured listings)
- Time on page & bounce rate
The winner becomes your new default. Then you iterate again.
What Should You Test in Product Images?
You don’t need to redesign everything at once. Focus on variables that directly impact trust, clarity, and desire.
1. Background Style
- Plain white / light gray
- Soft gradient / colored background
- Lifestyle environments (kitchen, bathroom, street, gym, etc.)
- On-model vs. flat lay
With Supra AI Photo Studio you can:
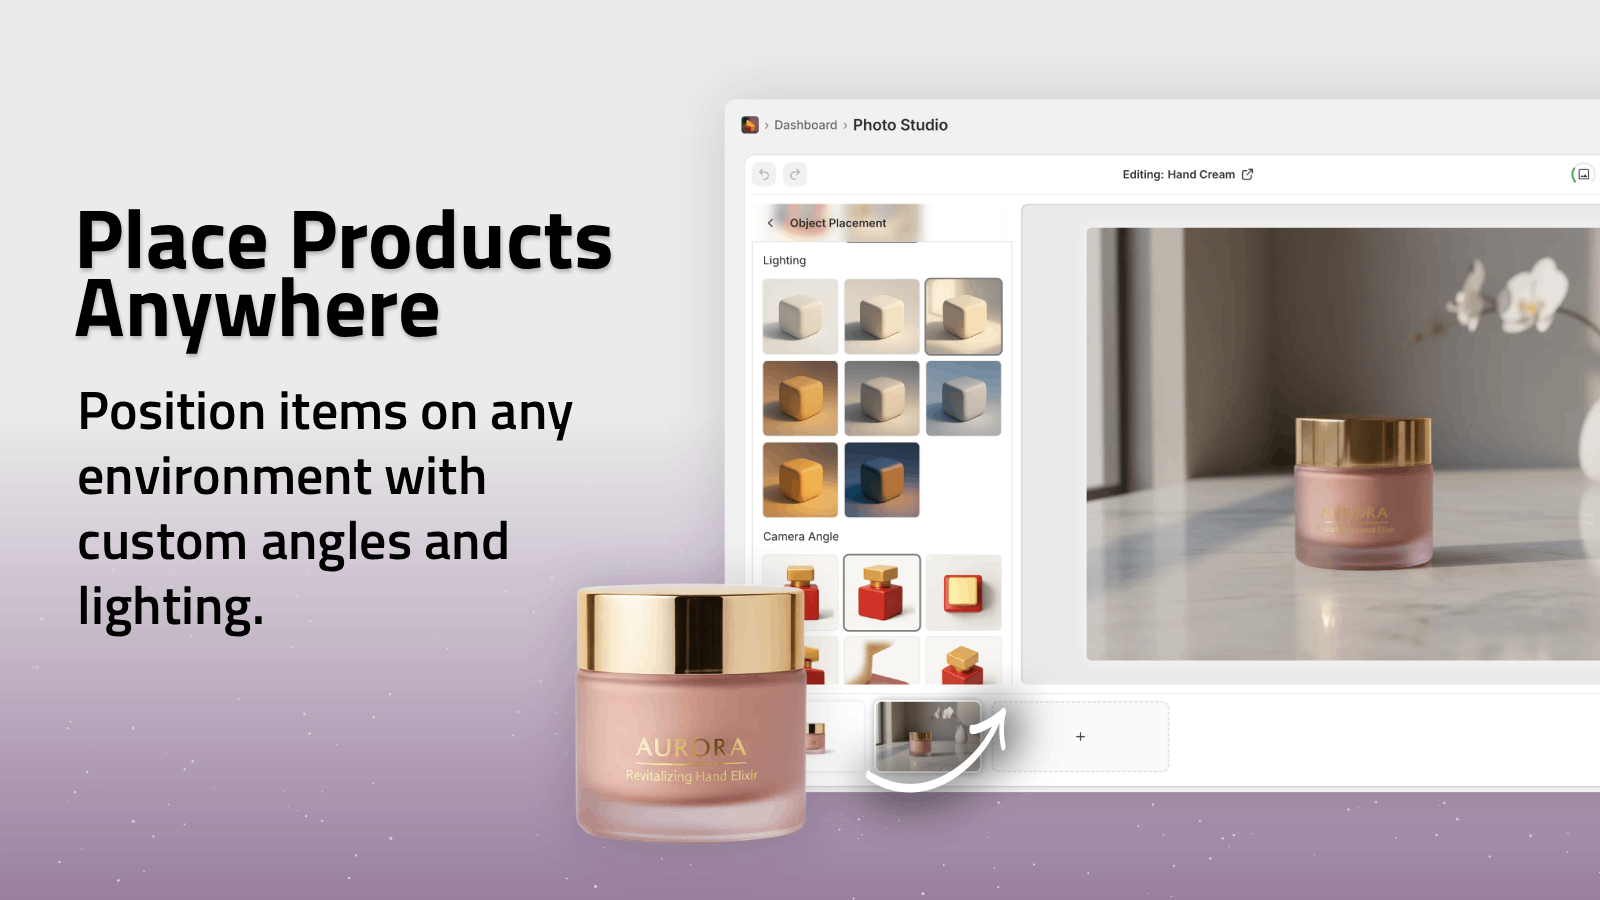
- Instantly remove or replace backgrounds
- Place your product in studios, luxury boutiques, nature, offices, and more using Object Placement
This makes it easy to test "studio" vs "lifestyle" vs "bold color" looks.
2. On-Model vs. Product-Only (For Fashion & Accessories)
Customers buy how they feel in a product, not just the product itself.
Test:
- Clothing on hangers vs. on models
- Jewelry alone vs. worn by a person
- Shoes on a white background vs. being worn while walking
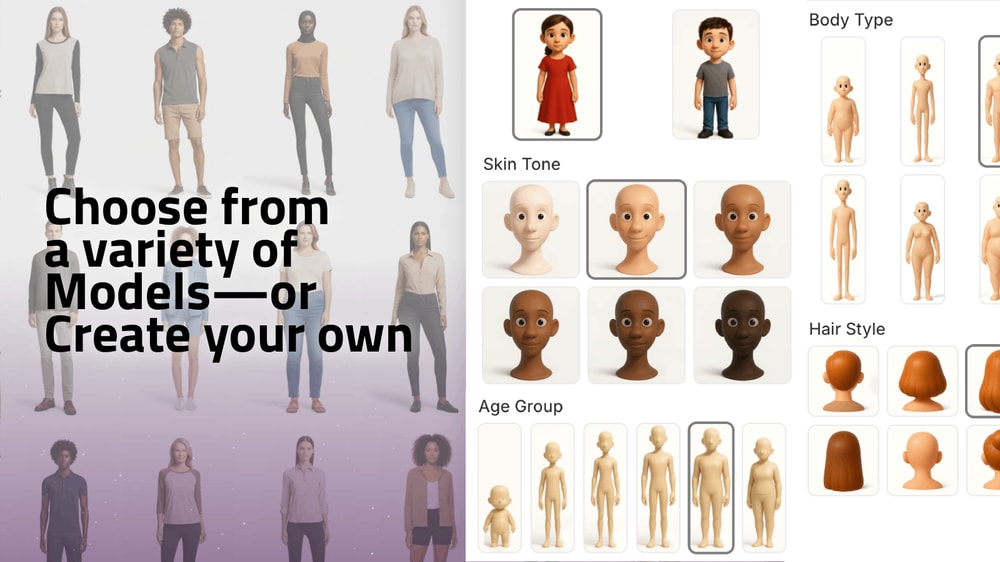
Supra’s AI Try-On lets you:
- Put your apparel, jewelry, or accessories on realistic AI models
- Adjust poses, skin tone, body type while preserving product details
Run tests to see whether specific demographics or body types convert better for your audience.
3. Composition & Framing
Change how the product is shown:
- Close-up macro vs. full product
- Product centered vs. off-centered with negative space
- Single product vs. bundle or multiple angles in one frame
Using Supra AI Photo Studio, you can quickly generate multiple compositions and crop variations from a single base image, then test which layout drives more clicks or sales.
4. Lighting & Color Mood
Subtle tweaks in lighting can make a product look cheap or premium.
Variables to test:
- Soft natural light vs. dramatic studio lighting
- Cooler tones vs. warmer tones
- Higher contrast vs. soft, matte look
Supra’s Auto Enhance tools let you:
- Improve sharpness, lighting, and colors automatically
- Remove noise and blur to make products appear more high-end
5. Lifestyle Context & Use Cases
People want to see how a product fits into their life.
Test images that show:
- The product in real-life scenarios (on a desk, in a bathroom, on a nightstand)
- Before/after scenes (beauty, cleaning, organization)
- Product in motion (still vs. video b-roll)
With Object Placement in Supra, you can instantly place your product in:
- Kitchens, cafes, gyms, home offices, outdoor scenes and more
How to A/B Test Product Images on Shopify (Step-by-Step)
You don’t need a huge tech stack to start. Here’s a simple, practical workflow.
Step 1: Choose One Product & One Clear Goal
Start where the impact will be highest:
- Your top traffic product
- Your highest-margin product
- A product with decent traffic but low conversion
Set one primary KPI:
- Product page test → Purchase conversion rate
- Collection/thumbnail test → Click-through rate
- Ad creative test → CTR and ROAS
Step 2: Generate Image Variants With AI
Install Supra AI Photo Studio for Shopify and open it from your Shopify admin.
In the editor:
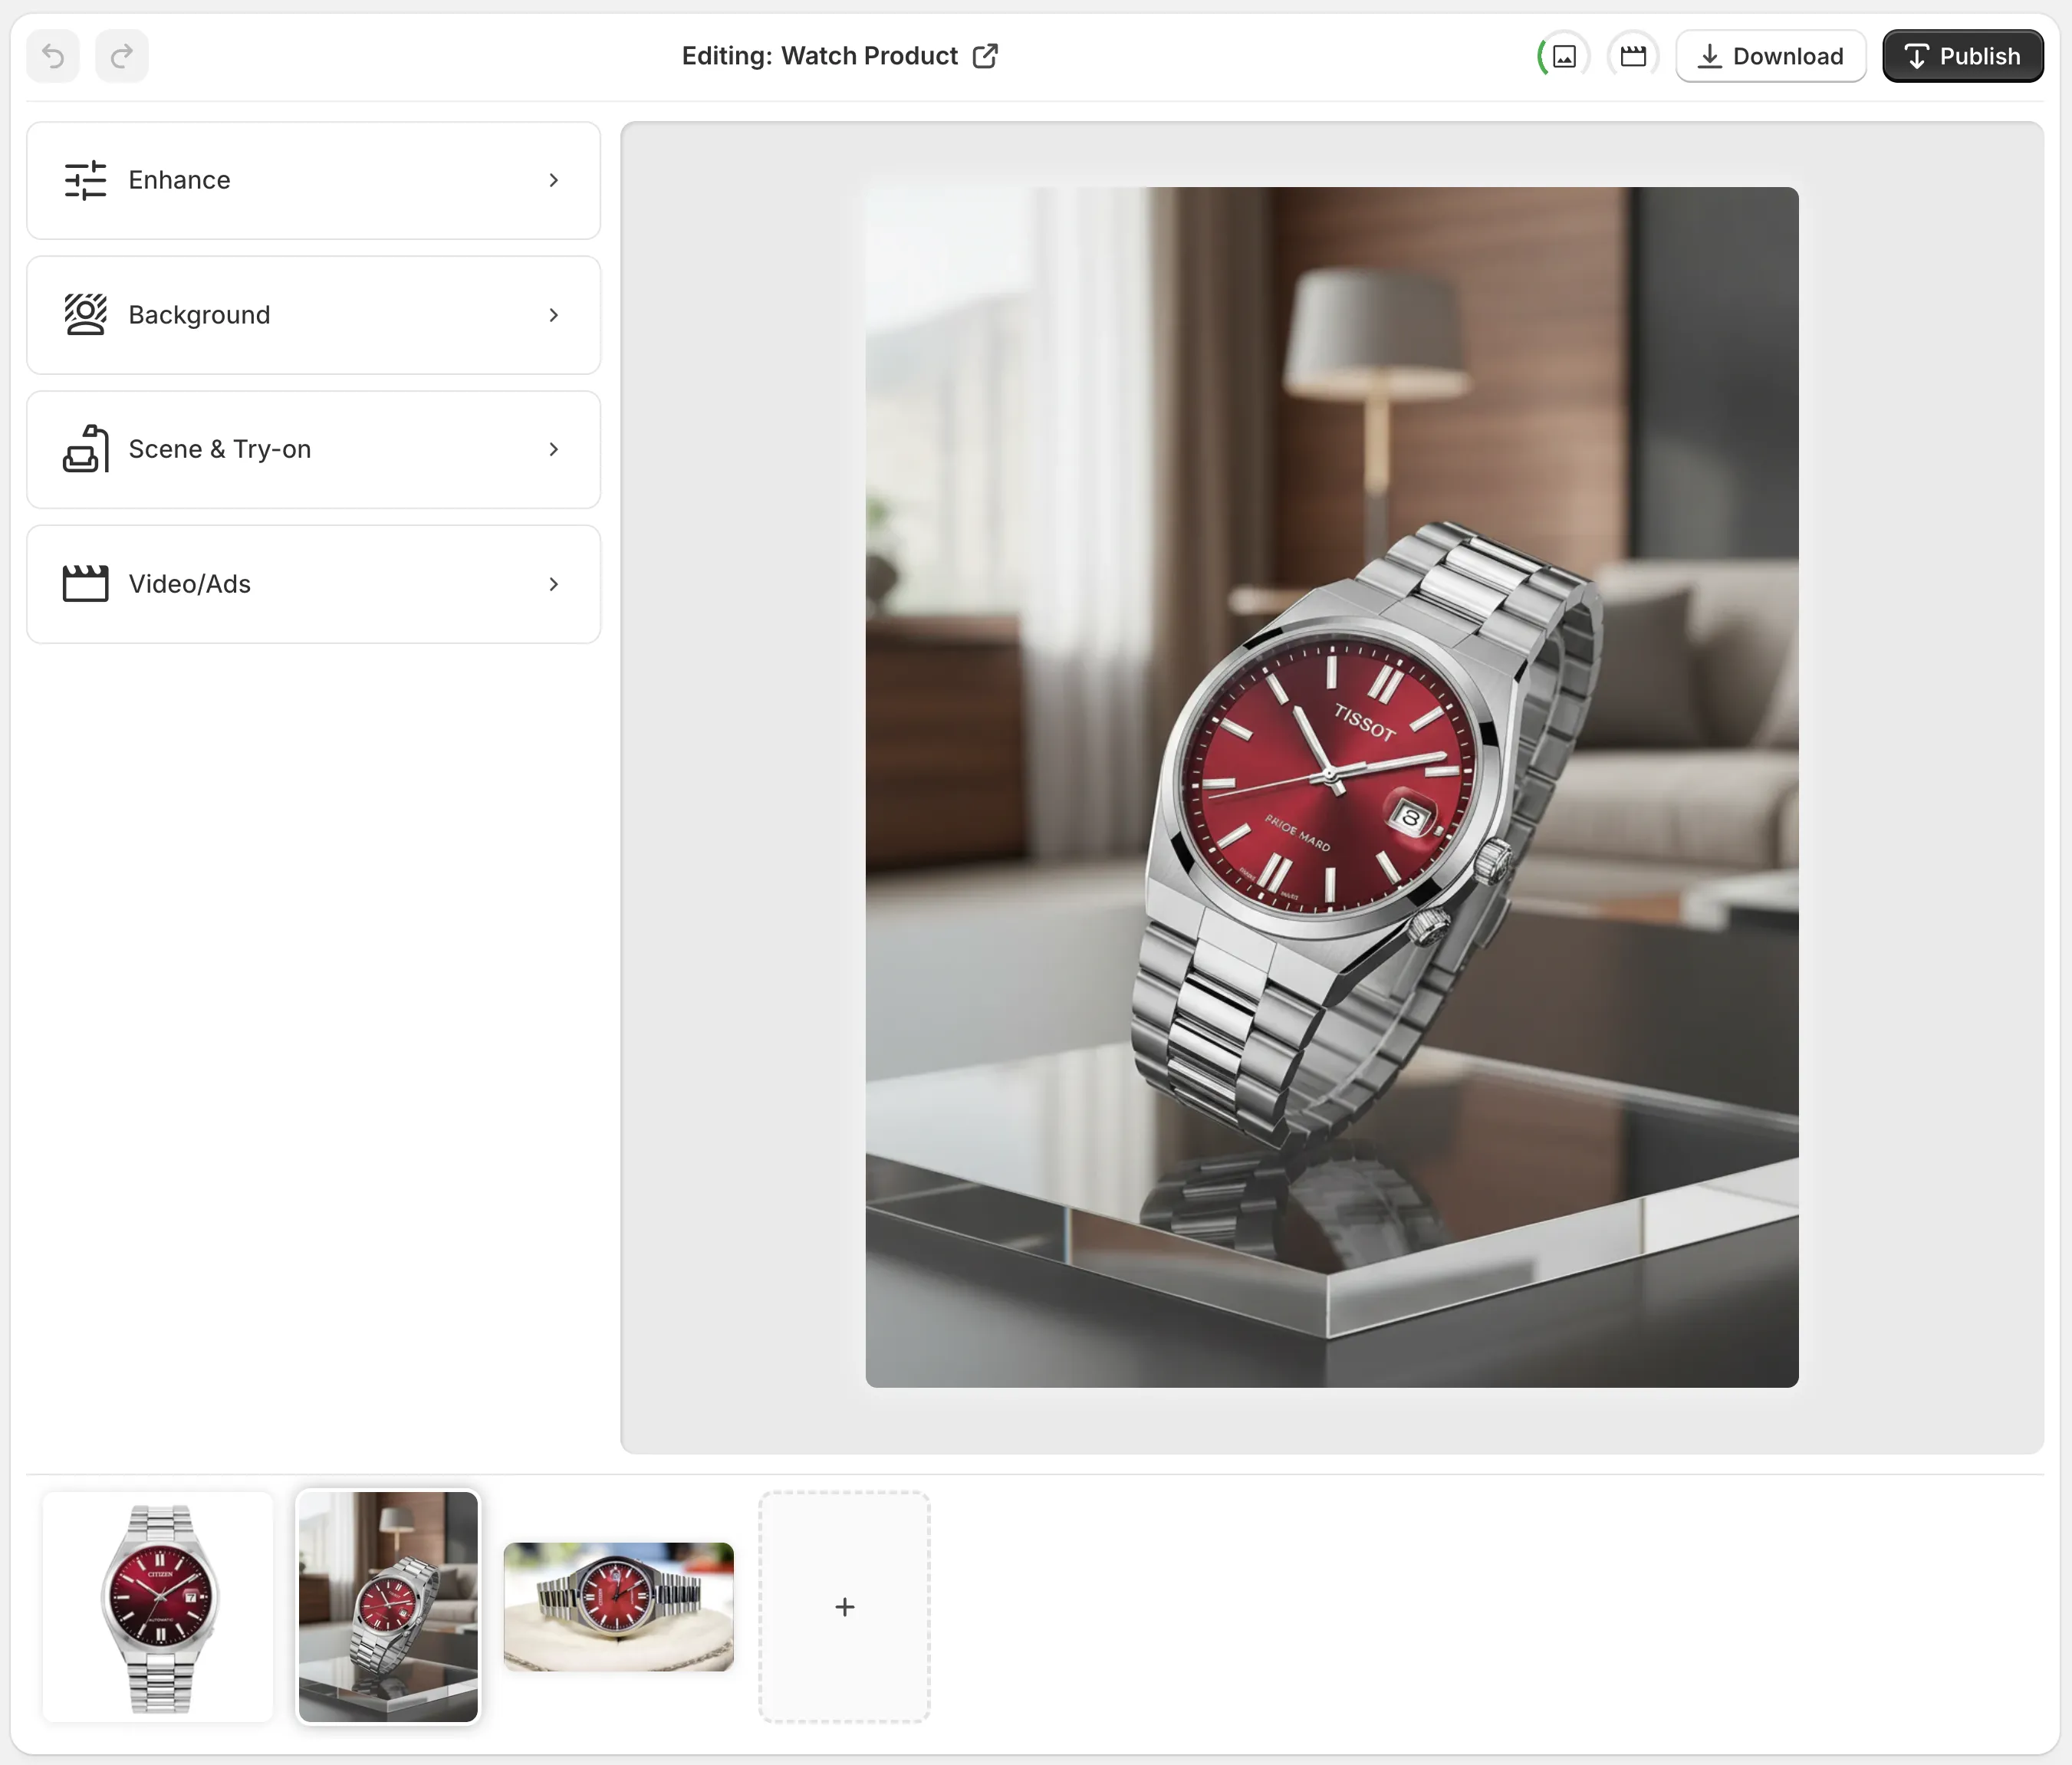
- Upload or pick your existing product image.
- Use Isolate Product to remove distractions and clean up the base.
- Create 2–4 variations, for example:
- Version A: White background, enhanced lighting
- Version B: Lifestyle kitchen environment
- Version C: On-model try-on (for fashion)
- Version D: Close-up detail shot with a colored background
- Use Auto Enhance, Upscale, and Background Replacement so every variant looks equally high-quality.
Because Supra is integrated into Shopify, you can generate and attach these images directly to your product in minutes.
Step 3: Set Up the A/B Test
You have three easy options:
Option 1: Split-Test With a Shopify A/B Testing App
Use a dedicated A/B testing / conversion rate optimization app to:
- Create two product page versions (A & B)
- Assign a different main product image to each
- Automatically split traffic and measure conversions
Option 2: Test Image Thumbnails in Collections
Simpler but powerful:
- Week 1–2: Use Image A as the collection thumbnail and track clicks to the product page
- Week 3–4: Swap to Image B
Compare:
- Click-through rate from collection → product page
- Downstream purchase conversion
Option 3: Test in Ads (Meta, TikTok, etc.)
If you’re running ads, this is often the fastest way to see what wins.
- Duplicate your best-performing ad set
- Keep copy, audience, placement, and budget identical
- Change only the creative image
- Compare CTR, CPC, and ROAS
Supra AI Photo Studio can also generate UGC-style videos and b-roll specifically designed for ads:
- UGC Video Generator → influencer-style talking videos from a product image
- B-Roll AI Videos → slow-motion product drops, splashes, top-down shots
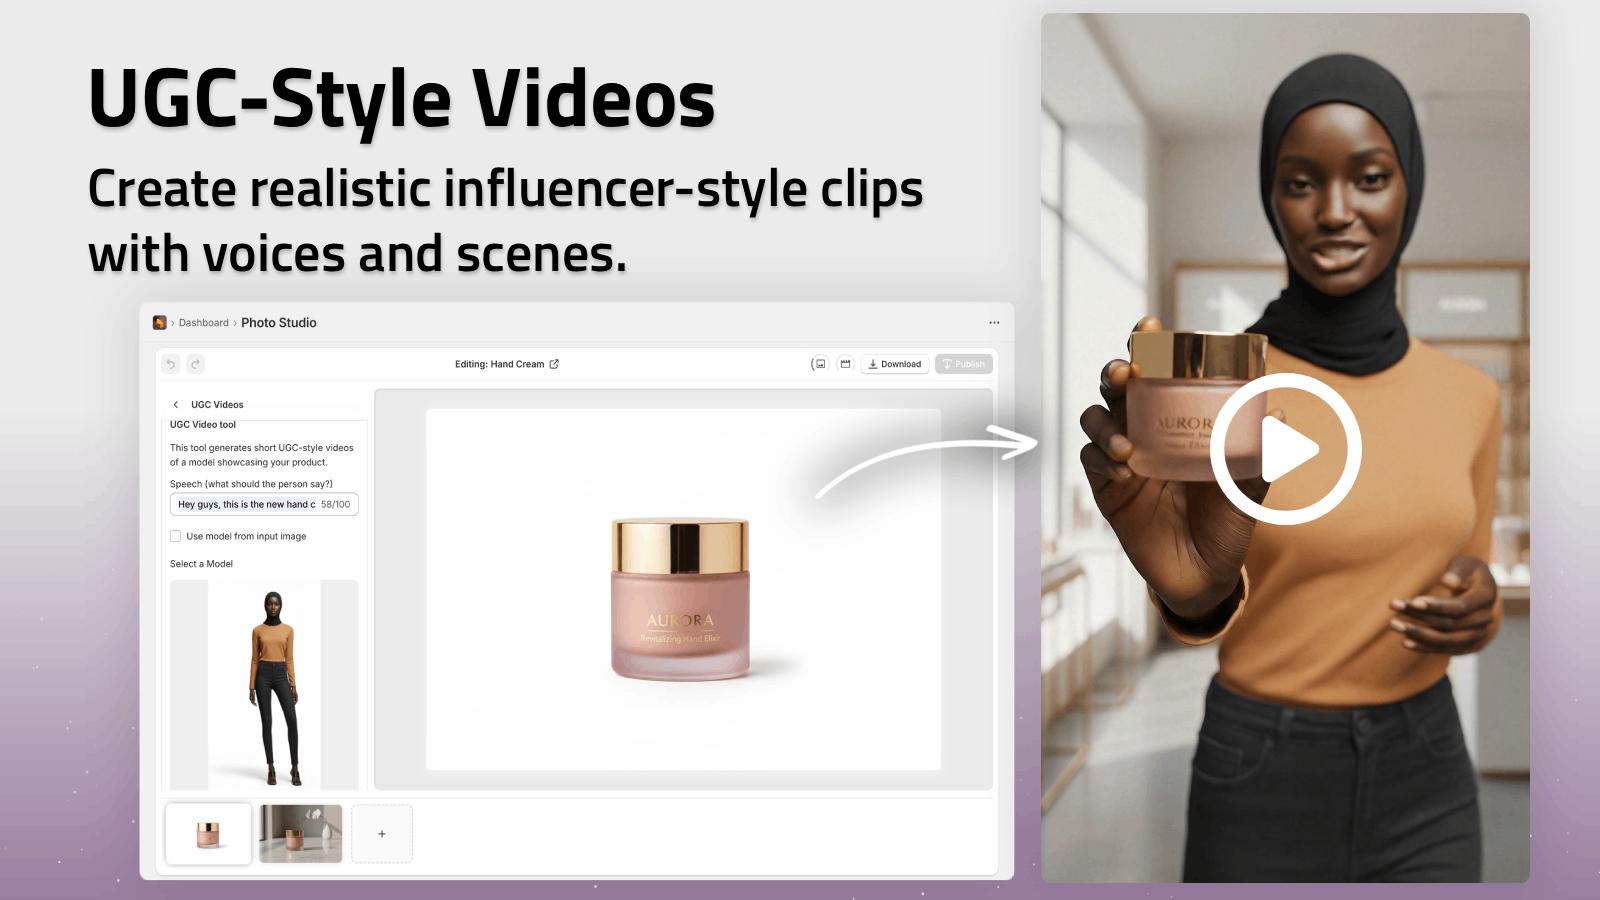
You can see a quick overview of the video capabilities in this demo trailer:
➡️ Watch the Supra AI Photo Studio demo on YouTube
How Long Should You Run an A/B Test?
Good A/B tests are based on data, not impatience.
As a rule of thumb:
- Run the test for at least 1–2 weeks (to cover weekday vs weekend behavior)
- Aim for a few hundred visitors per variant on product pages
- Don’t pause mid-test unless you see something clearly broken (e.g., page not loading)
You’re looking for a meaningful lift (e.g., +10–20% higher conversion), not just a 0.2% bump that might be noise.
Reading the Results: What Makes a Winner?
Depending on what you tested:
- Product page images → Higher purchase conversion rate, similar or better add-to-cart
- Collection thumbnails → Higher click-through to product pages
- Ads → Higher CTR, better ROAS, or lower CPA while maintaining volume
If Image B boosts conversion from 2.5% to 3.2%, that’s a 28% lift. On $10,000/month for that product, you’re now at ~$12,800/month — just from changing the image.
Make the winning variant your new default, then:
- Save insights (e.g., "lifestyle kitchen shots outperform plain backgrounds by 20%")
- Apply the same approach across similar products using Supra’s bulk workflows
Best Practices for A/B Testing Product Images
To get reliable results and avoid common traps, keep these principles in mind:
-
Test One Major Variable at a Time
Don’t change background, model, and framing all at once. You won’t know why something worked. -
Keep Image Quality Consistent
Both variants must look professional. Use Supra’s Auto Enhance, Upscale, and denoise/deblur tools so you’re testing style, not competence. -
Prioritize Mobile
Most Shopify traffic is mobile. Ensure both variants look great in small thumbnails and on small screens. -
Align With Your Brand
Winning images should still feel on-brand. With Supra, you can standardize backgrounds, lighting, and styles across your entire catalog. -
Document Your Learnings
Create a simple doc:- What you tested
- Which variant won
- The lift in key metrics
- Hypothesis for why it worked
Over time, you’ll build your own visual playbook for what converts in your niche.
Scaling Image Testing Across Your Catalog
Once you get a winning pattern, roll it out:
- Use Supra AI Photo Studio to apply similar backgrounds, environments, or on-model shots to your other products
- Standardize angles and lighting across collections to look more like a cohesive brand rather than a random marketplace
- Generate mockups for your designs on apparel, packaging, posters, mugs, and more with the Mockup Embedding feature
Because Supra works inside Shopify with simple, affordable plans (including a free plan to explore core features), it’s easy to test this process risk-free:
➡️ Try Supra AI Photo Studio on Shopify: https://apps.shopify.com/supra-ai-photo-studio
You can check detailed features and workflow examples here:
➡️ Supra AI Photo Studio landing page: https://supra-ai-photo-studio.sktch.io/
Turn Your Product Images Into a Revenue Engine
A/B testing product images isn’t a one-time task — it’s an ongoing system to continually:
- Improve conversion rates
- Lower ad costs
- Strengthen your brand visuals
With AI-powered tools like Supra AI Photo Studio, you’re no longer limited by photoshoots, agencies, or design bottlenecks. You can:
- Generate high-converting product photos, lifestyle scenes, and on-model images in minutes
- Create UGC-style videos and cinematic b-roll for ads
- Test variations rapidly until you find what reliably moves your revenue up
Start with one product, one hypothesis, and two images. Let the data tell you what sells — then scale that look across your entire store.
➡️ Install Supra AI Photo Studio on your Shopify store today and turn A/B testing your product images into your most reliable growth lever:
https://apps.shopify.com/supra-ai-photo-studio