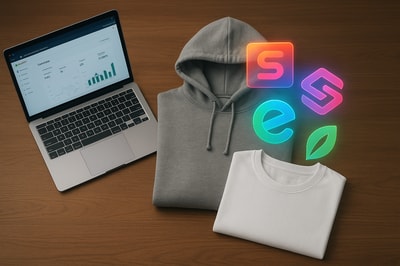
How To Embed Mockups Onto Apparel Photos (Step‑By‑Step Guide for Shopify Stores)
Embedding mockups onto apparel photos is one of the fastest ways to make your clothing brand look professional, consistent, and shop‑ready—without hiring a photographer for every new design.
Whether you run a print‑on‑demand store or a growing fashion brand, mastering apparel mockups is essential for increasing conversions and building trust.
In this guide, you’ll learn how to embed mockups onto apparel photos step by step, plus how to automate and scale the process with AI using Supra AI Photo Studio.
Why Embed Mockups Onto Apparel Instead of Shooting Everything?
High-quality apparel photography is expensive and slow:
- You need models, studios, lighting, retouching…
- Every new design means another photoshoot.
- Seasonal collections make this even worse.
Mockups solve this. By embedding your design onto a t‑shirt, hoodie, or sweatshirt photo, you can:
- Launch new designs in hours instead of weeks.
- Test which prints sell before investing in bulk production.
- Keep your catalog visually consistent (same model, same lighting, same angles).
- Easily create variations (colors, backgrounds, seasons) without re‑shooting.
With AI tools like Supra AI Photo Studio, you can even skip traditional Photoshop workflows entirely and generate realistic apparel mockups directly inside your Shopify admin.
The Two Main Ways To Create Apparel Mockups
Before we dive into the step‑by‑step process, it’s important to understand the two approaches:
1. Manual (Photoshop / traditional) method
You start from a blank apparel photo (flatlay, ghost mannequin, or model shot) and:
- Place your design as a new layer.
- Use smart objects and warp tools to follow the garment’s folds.
- Adjust blending modes (Multiply, Overlay, etc.).
- Manually tweak shadows, highlights, and color.
This gives full control—but it’s time‑consuming and hard to scale if you have dozens of SKUs.
2. AI‑powered mockup embedding (fast & scalable)
You upload a clothing photo and your design, and AI:
- Detects the garment.
- Wraps your design around folds and curves.
- Matches lighting and fabric texture.
- Outputs a photorealistic mockup.
This is what Supra AI Photo Studio is built for. It was made specifically for Shopify merchants who need:
- Apparel mockups
- Lifestyle photos
- On‑model try-ons
- UGC‑style videos for ads and social
Below, you’ll see how to do both, but we’ll lean on the AI workflow for speed and practicality.
How To Embed Mockups Onto Apparel Photos With AI (Shopify‑Friendly Workflow)
This is the fastest and most scalable method if your store runs on Shopify.
Step 1: Install Supra AI Photo Studio on your Shopify store
- Go to the Supra AI Photo Studio app listing.
- Click Add app and follow the installation flow.
- Once installed, open it from your Shopify admin > Apps section.
Supra has a free plan, so you can test apparel mockups without any upfront cost.
Step 2: Choose the base apparel photo
You have two options:
- Use an existing product photo from your Shopify catalog.
- Upload a clean apparel image (flatlay, model photo, or ghost mannequin shot).
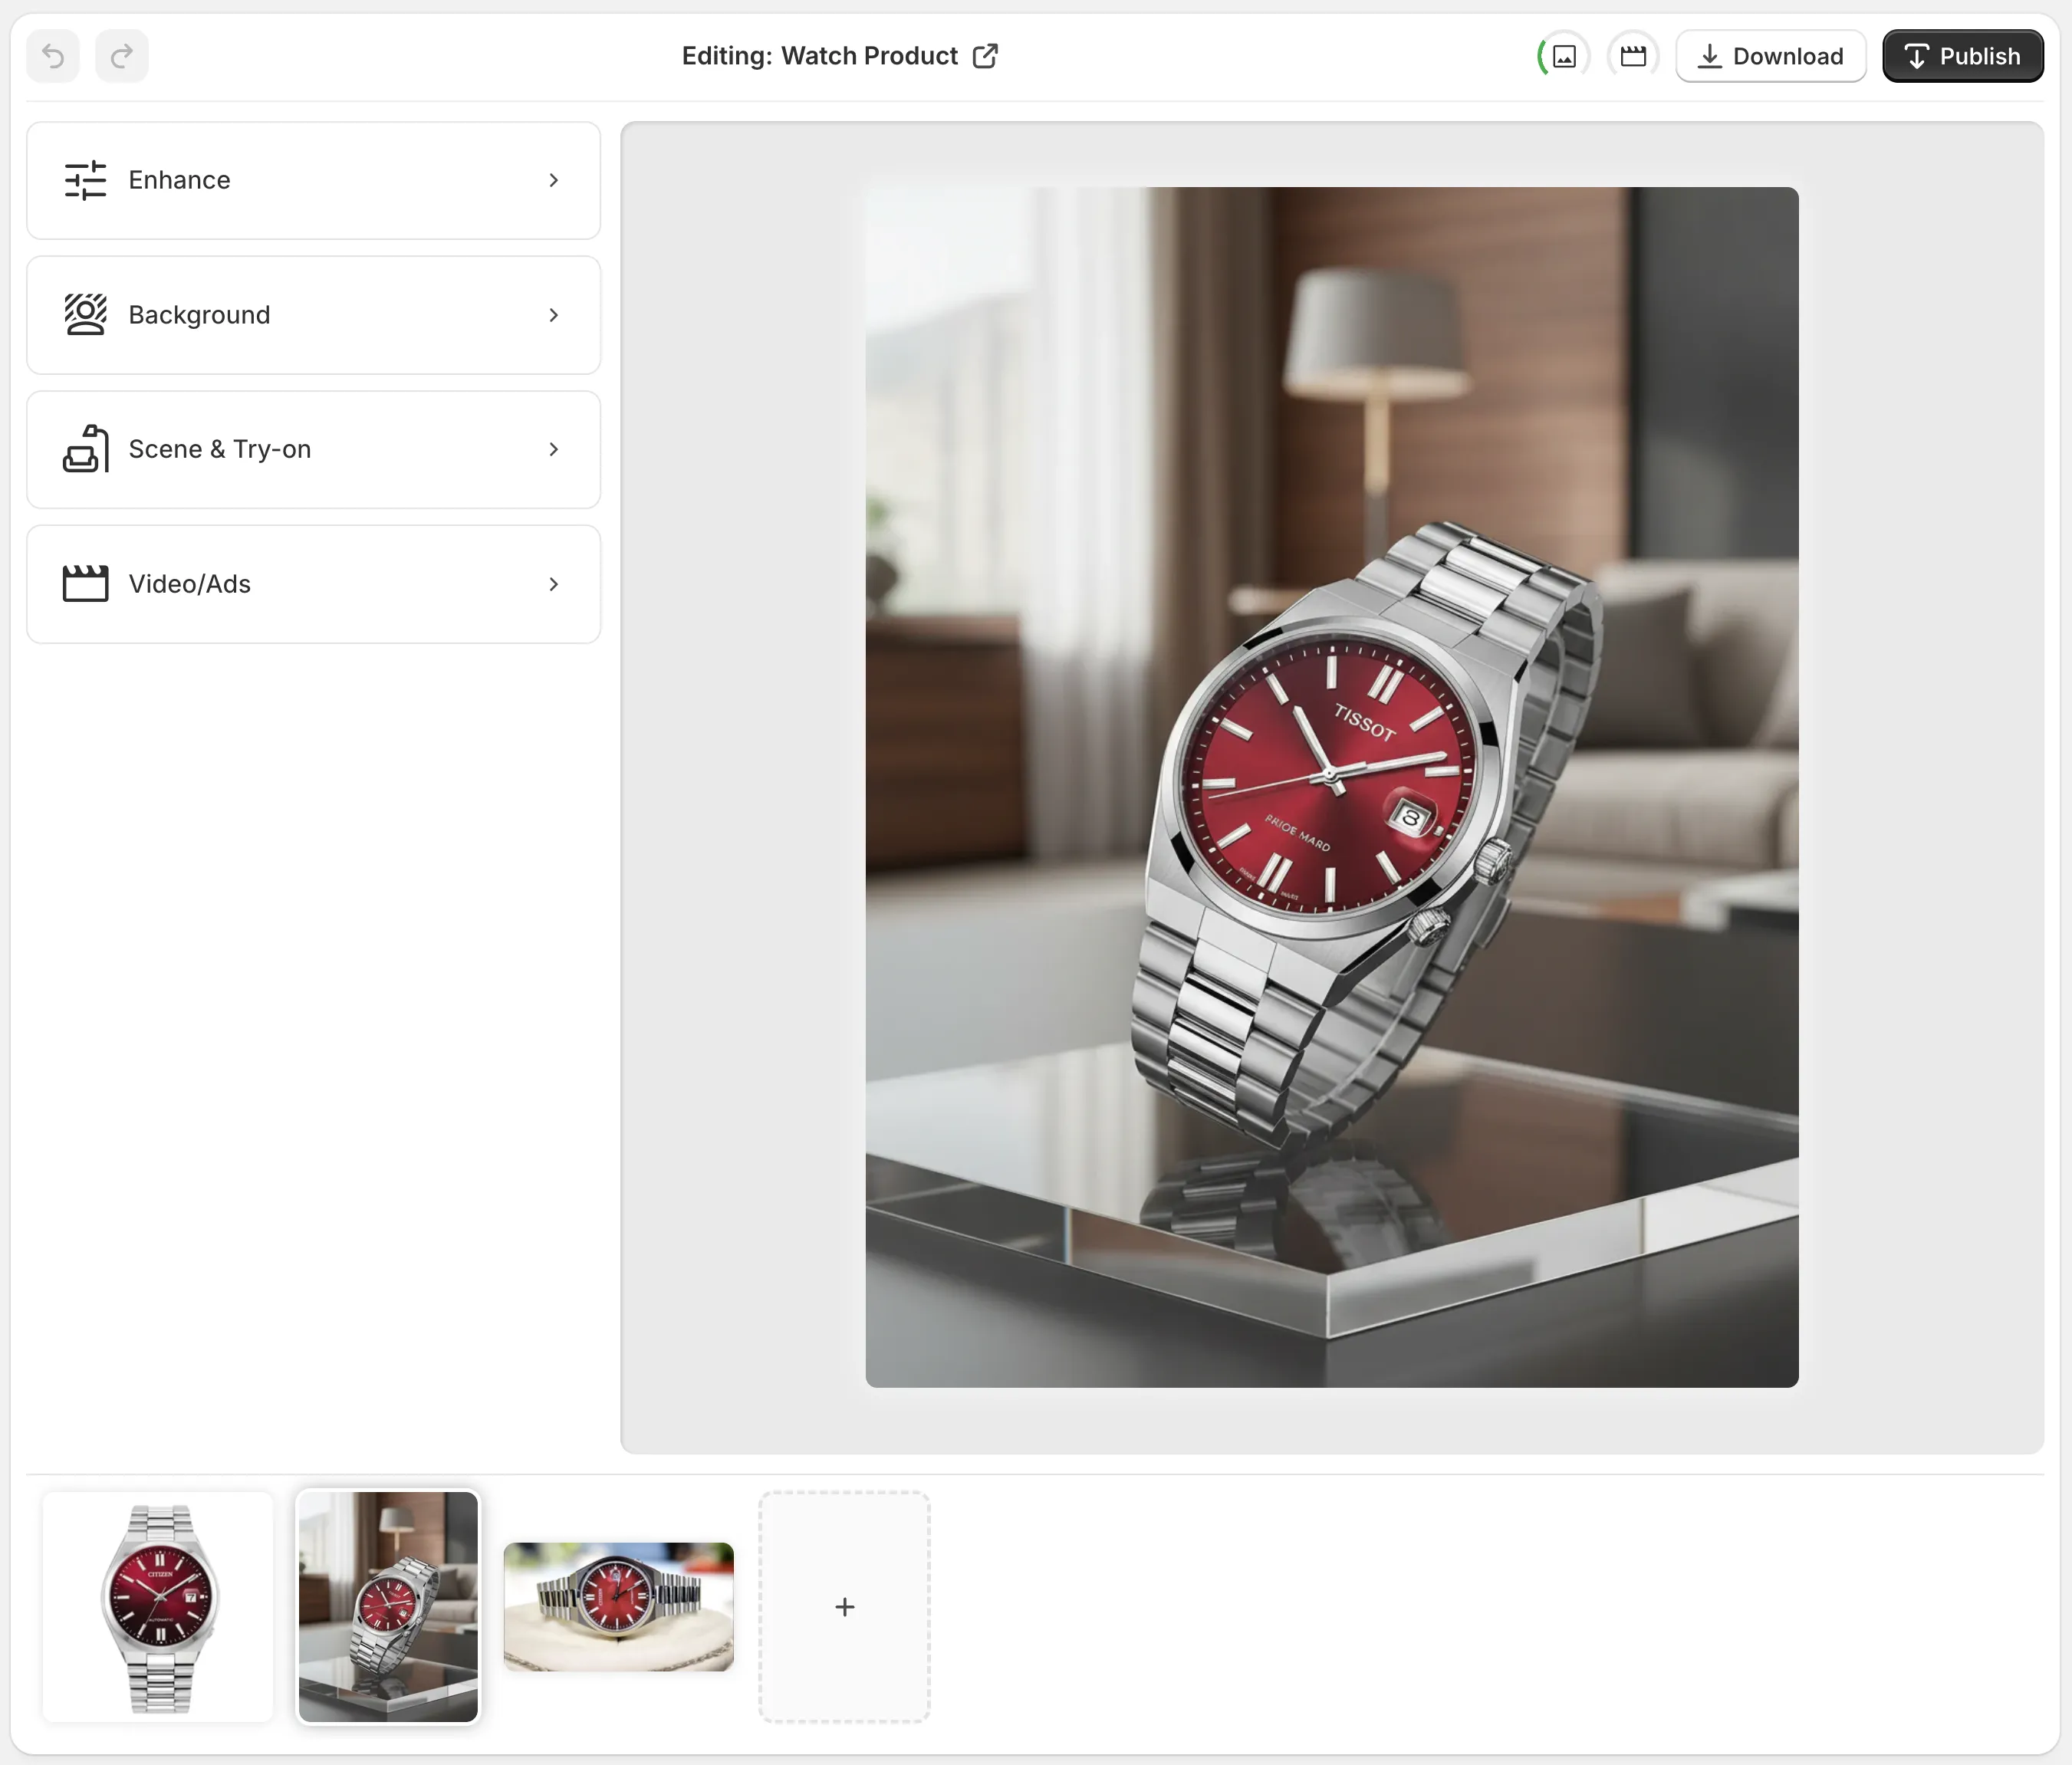
Open the image in the Supra editor:
For best results:
- Use a high‑resolution image.
- Make sure the clothing item isn’t heavily cropped.
- Avoid busy patterns if you’re placing a detailed graphic.
Step 3: Isolate the apparel (optional but highly recommended)
Clean data in = better AI out.
Use the Isolate Product / Background Remover tool in Supra AI Photo Studio to:
- Remove distracting backgrounds.
- Keep only the apparel piece visible.
- Prepare a clean canvas for mockup embedding.
This makes it easier for the AI to understand where the garment is and how to wrap your design.
Step 4: Upload your design (logo, print, artwork)
Now add the artwork you want to embed:
- High‑res PNG with transparent background is ideal.
- Centered and properly cropped.
In Supra AI Photo Studio, use the Mockup / Design Embedding feature to place your design on:
- T‑shirts
- Hoodies
- Sweatshirts
- Caps
- Tote bags
- Other apparel and products
This is part of the broader mockup embedding toolset designed exactly for this use case.
Step 5: Let the AI embed the mockup
Here’s where AI does the heavy lifting:
- It analyzes the shape of the apparel.
- Warps your design naturally around curves and folds.
- Blends it with the existing fabric texture.
- Adjusts lighting, contrast, and saturation so the print looks real.
You’ll see the resulting image directly in the Supra editor and can compare it to the original.
You can further refine with:
- Object placement: Put the apparel on a model or into a lifestyle scene (e.g., urban street, gym, living room).
- Auto-enhance: Fix lighting, colors, clarity for a polished, studio‑level finish.
Step 6: Generate variations and lifestyle angles
Once your design is embedded convincingly, multiply your assets:
- Change backgrounds (studio white, textured wall, bedroom, city street).
- Create on‑model try‑ons using Supra’s AI try‑on feature.
- Generate UGC‑style video clips showing a close‑up of the design or a quick pan across the shirt.
For example, with Supra AI you can:
- Turn your still mockup into B‑roll video with smooth camera movements and product‑focused animations.
- Generate influencer‑style UGC videos from a basic product shot—perfect for TikTok, Reels, and ads.
Explore these features here: Supra AI Photo Studio — landing page.
Step 7: Publish the mockup back to your Shopify product
Once you’re happy with the result:
- Hit Download or Publish to product directly from the Supra editor.
- Replace low‑quality images on your product page or add the new mockups as additional gallery images.
- Ensure the first image (hero image) is clean, high‑quality, and clearly shows the design.
Because Supra works inside Shopify, your product photos stay organized and synced—no messy file exports needed.
Manual Workflow: How To Embed Mockups in Photoshop (Quick Overview)
If you prefer the traditional route or want extra control, here’s the condensed Photoshop method.
1. Open your apparel base image
- Use a high‑quality t‑shirt, hoodie, or sweatshirt image.
- Ensure good lighting and visible fabric folds.
2. Place your design as a smart object
- Go to File → Place Embedded and select your design file (PNG is best).
- Resize and position it roughly where you want it on the garment.
- Convert the layer to a Smart Object if it isn’t already (Right‑click → Convert to Smart Object).
3. Warp the design to follow the fabric
- Use Edit → Transform → Warp.
- Gently drag the grid points and handles so the design follows folds, curves, and perspective.
Aim for subtlety—over‑warping looks fake.
4. Change blending mode and opacity
To blend the print with the shirt’s fibers:
- Try Multiply, Overlay, or Soft Light on the design layer.
- Reduce opacity slightly.
- Add a mask and softly erase where the design should fade due to shadows/folds.
5. Add highlights and shadows
- Create new layers for dodge & burn.
- Clip them to the design layer if needed.
- Add subtle shadows under thick prints or highlights where light hits raised areas.
6. Export in web‑ready formats
- Use Export As or Save for Web.
- Make sure files are optimized for Shopify (usually 1500–2500px on the long edge, compressed but sharp).
This method works, but once you’re managing 50+ SKUs, an AI solution like Supra AI Photo Studio pays for itself in time saved.
Tips for Hyper‑Realistic Apparel Mockups
Use these best practices no matter which tool you use:
-
Match fabric type and design style
Thin line art looks great on soft cotton tees; dense, heavy prints feel more natural on hoodies or sweaters. -
Avoid floating designs
The print should respect seams, wrinkles, and perspective. If it looks like a sticker on top, redo the warp or embedding. -
Keep color accuracy in mind
Over‑saturated mockups may cause returns. Use realistic color grading rather than extreme filters. -
Show multiple angles
Front, back, close‑up of the print, maybe one lifestyle shot. Supra makes it easy to generate extra views from the same base artwork. -
Test lifestyle vs. studio shots
In A/B tests, product pages often convert better with one clean studio shot + 1–3 lifestyle images. You can generate lifestyle scenes in Supra using object placement and AI try-on.
Why Use Supra AI Photo Studio for Apparel Mockups?
For Shopify merchants, Supra AI is designed to be the all‑in‑one product visuals engine:
- Mockup embedding: Place your logo or artwork on apparel, packaging, mugs, posters, and more.
- AI Try-On: Put your clothing on realistic AI models with customizable skin tone, body type, and pose.
- Object placement: Drop apparel items into realistic lifestyle scenes—bedrooms, streets, gyms, boutiques.
- Background remover & upscaling: Clean up old photos and make them look like fresh studio shots.
- UGC & B‑roll videos: Turn static mockups into thumb‑stopping marketing content.
Explore the app and try it free via the Shopify App Store:
👉 Install Supra AI Photo Studio
Or learn more on the landing page:
👉 Supra AI Photo Studio — Enhance your product photography
Visual Inspiration: From Flat Art To Real Apparel
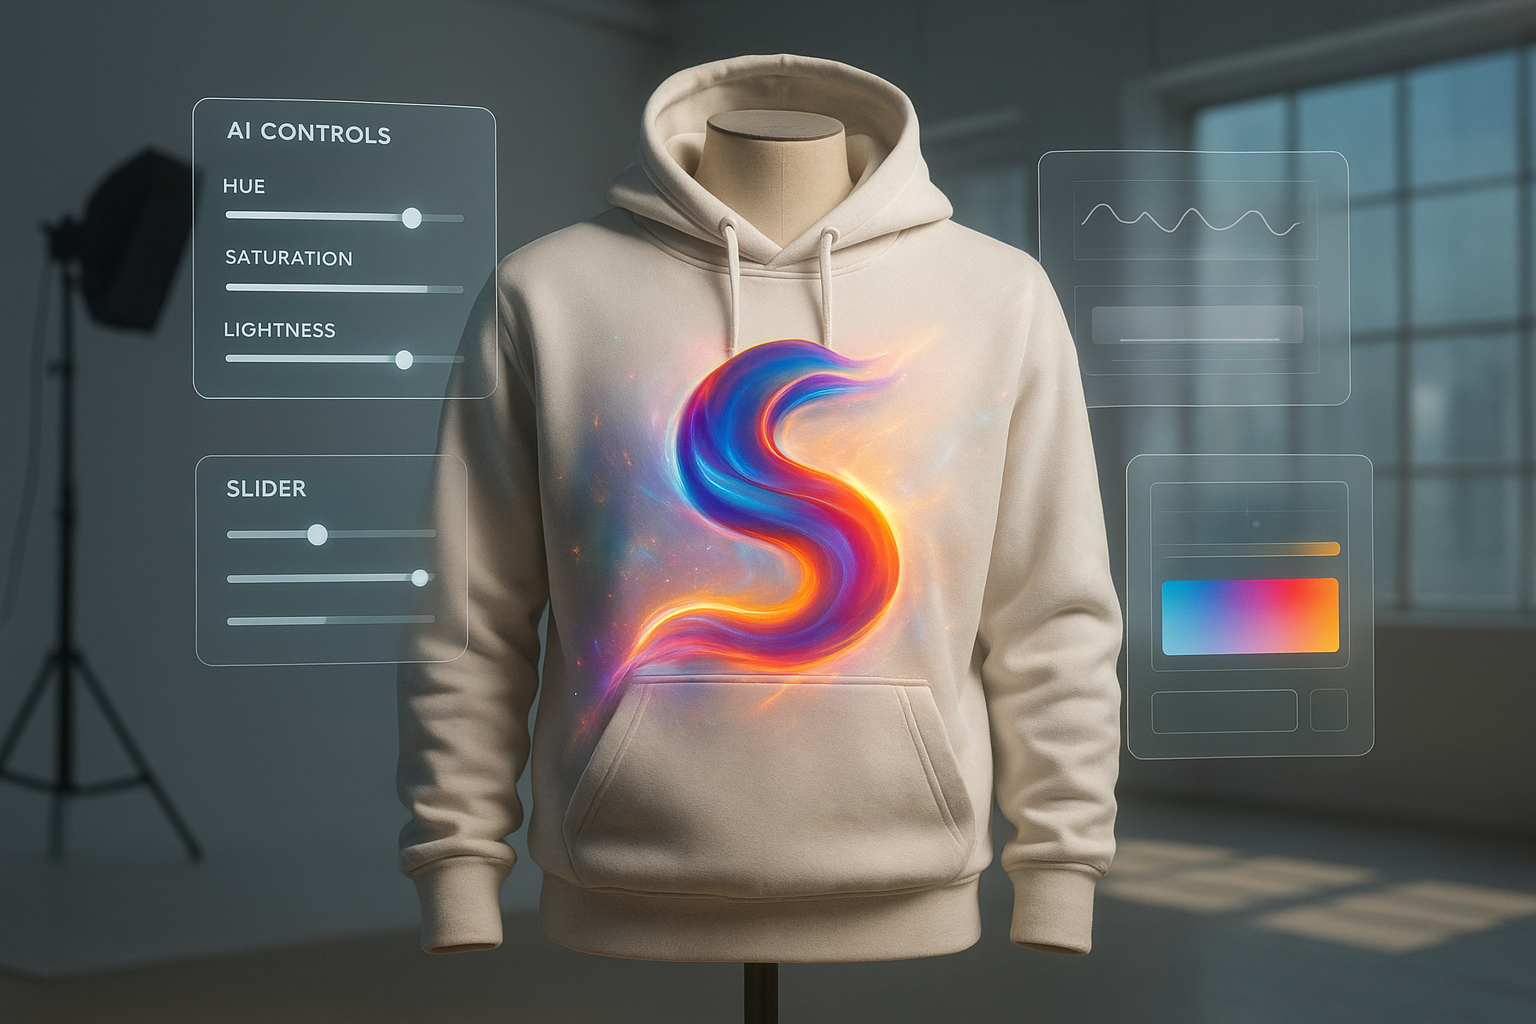
Use scenes like this as inspiration for how your final product images should feel: clean, modern, and believable.
Final Thoughts
Embedding mockups onto apparel photos used to require advanced Photoshop skills and time you probably don’t have. With AI‑powered tools like Supra AI Photo Studio, any Shopify merchant can:
- Turn a basic design file into a full set of professional apparel mockups.
- Generate lifestyle images, on‑model visuals, and UGC‑style videos in minutes.
- Keep their store looking cohesive, premium, and conversion‑focused.
If you’re ready to upgrade your apparel visuals without hiring a full creative team, start by installing Supra AI Photo Studio and experiment with embedding your first mockups today.