Quick Photo Editing Workflow For Busy Merchants

If you're running a Shopify store, your to‑do list is already overflowing: customer support, inventory, ads, shipping… and somewhere in there, product photos.
The challenge? Great visuals are non‑negotiable for conversions, but traditional photo editing is slow, expensive, and hard to scale.
This guide walks you through a fast, repeatable photo editing workflow tailored for busy merchants—no design skills needed. We’ll also show how to streamline the whole process with Supra AI Photo Studio.
Why Busy Merchants Need a Streamlined Photo Workflow
High-converting product pages usually share three things:
- Clean, consistent images (same framing, lighting, aspect ratio)
- Lifestyle context (customers see how they’ll use the product)
- Speed to publish (you can update or launch products quickly)
The problem is that traditional editing means:
- Hiring photographers and retouchers
- Waiting days for revisions
- Juggling multiple tools for background removal, resizing, and mockups
With AI tools like Supra AI Photo Studio, you can compress all of that into a 10–15 minute workflow per product instead of hours.
The 7-Step Quick Photo Editing Workflow
Below is a practical, step-by-step workflow you can plug into your daily operations. It’s optimized for Shopify merchants who want clean, scroll-stopping visuals without getting lost in Photoshop.

Step 1: Start With Simple, Clear Source Photos
You don’t need a studio—just follow these basics when shooting:
- Use natural light from a window; avoid harsh overhead lights.
- Shoot against a neutral background (white or light grey works best).
- Capture multiple angles (front, side, detail/macro, in-hand if possible).
- Make sure the product is in focus and fills most of the frame.
The goal isn’t perfection; it’s a clean base that AI can enhance quickly.
Step 2: Import Images Directly in Shopify
Once your photos are ready:
- Upload them to your Shopify product as usual.
- Open Supra AI Photo Studio from your Shopify admin.
- Select the product—its images will appear in the Image Gallery at the bottom.
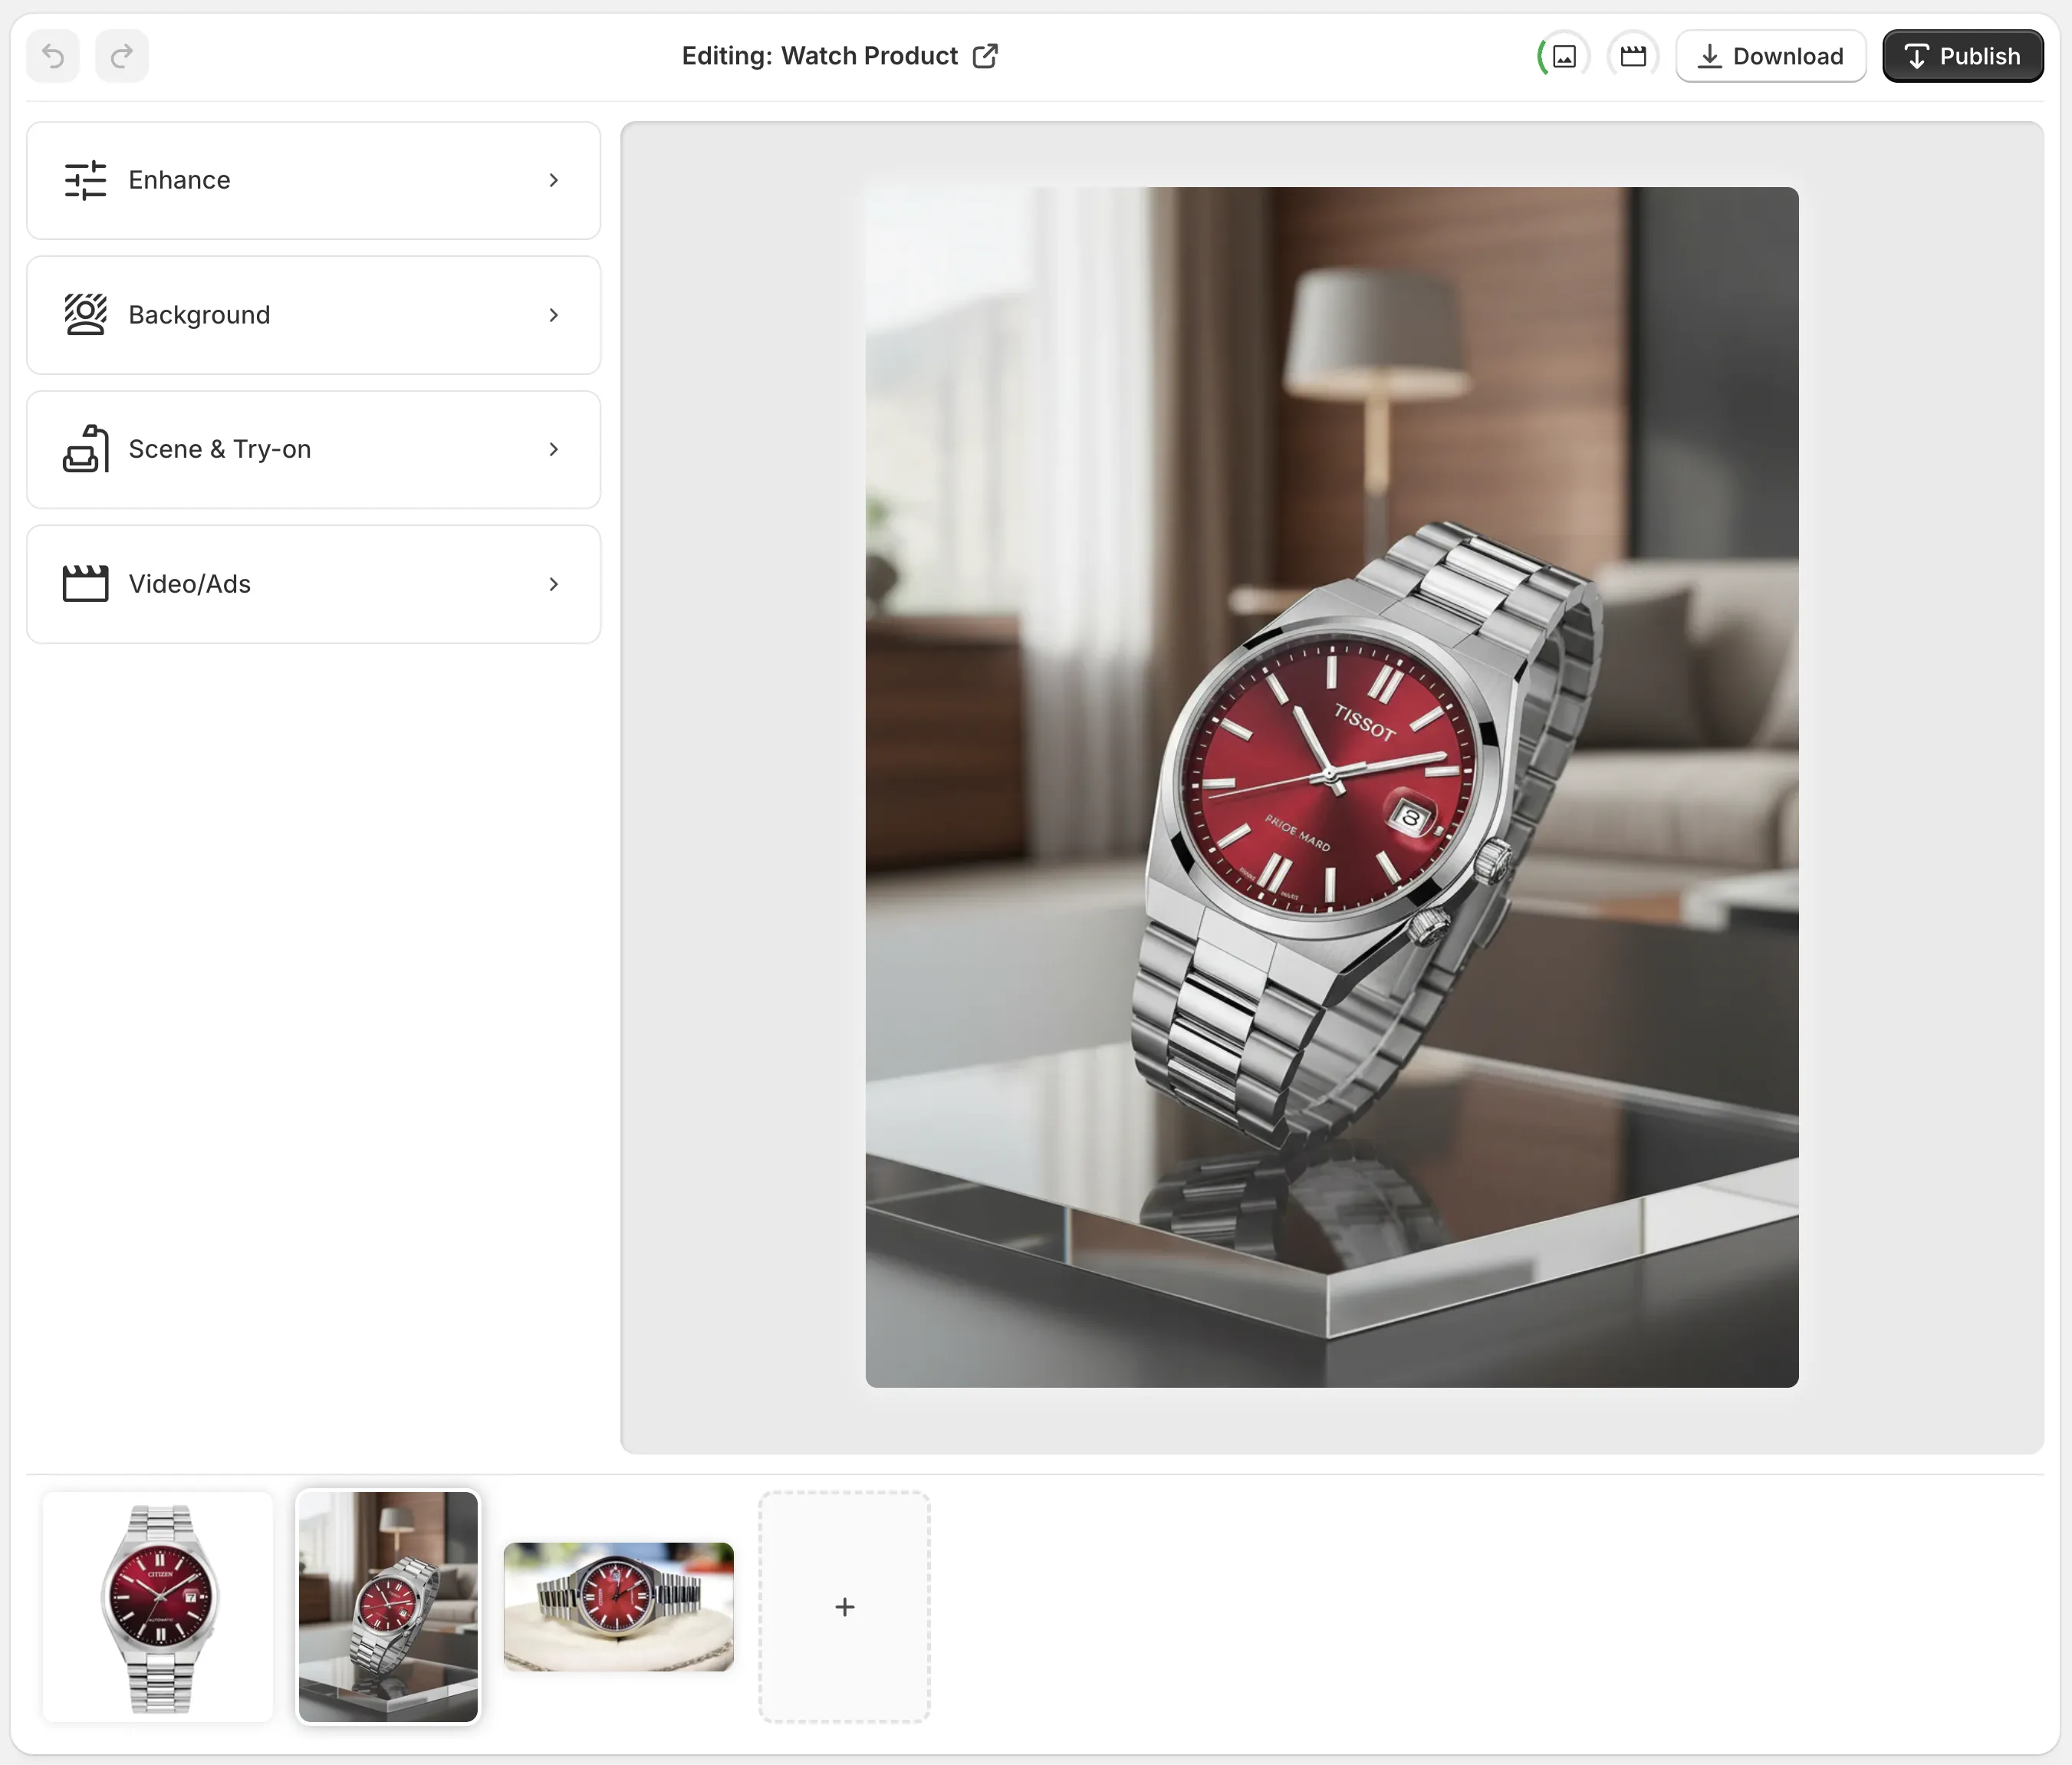
From here, you can edit and publish images without leaving Shopify, which saves a surprising amount of time when you’re managing dozens of SKUs.
Step 3: Isolate the Product (Clean Background in 1 Click)
For quick, professional results, start by isolating the product:
- Use the “Isolate Product” / Background Remover tool in Supra AI Photo Studio.
- Remove distracting elements and messy backgrounds.
This does two important things:
- Creates a clean, consistent hero image for your catalog.
- Helps AI tools (like Try-On and Object Placement) focus on the product accurately.
You can keep the background pure white for marketplaces, or use a subtle gradient for a more branded feel.
Step 4: Auto Enhance for Instant Quality Boost
Next, use Auto Enhance to fix:
- Dark or flat lighting
- Slight blur or lack of sharpness
- Colors that don’t match real life
In Supra AI Photo Studio, this is done with one click using AI:
- Denoise and deblur for clarity
- Color and lighting correction for accurate, vivid tones
- Optional upscaling if your original files are too small
This turns “good enough” photos into studio-grade visuals without touching sliders and curves manually.
Step 5: Create Lifestyle Shots in Minutes (No Photoshoots)
Once your clean product shot is ready, you can generate high-impact lifestyle images extremely quickly.
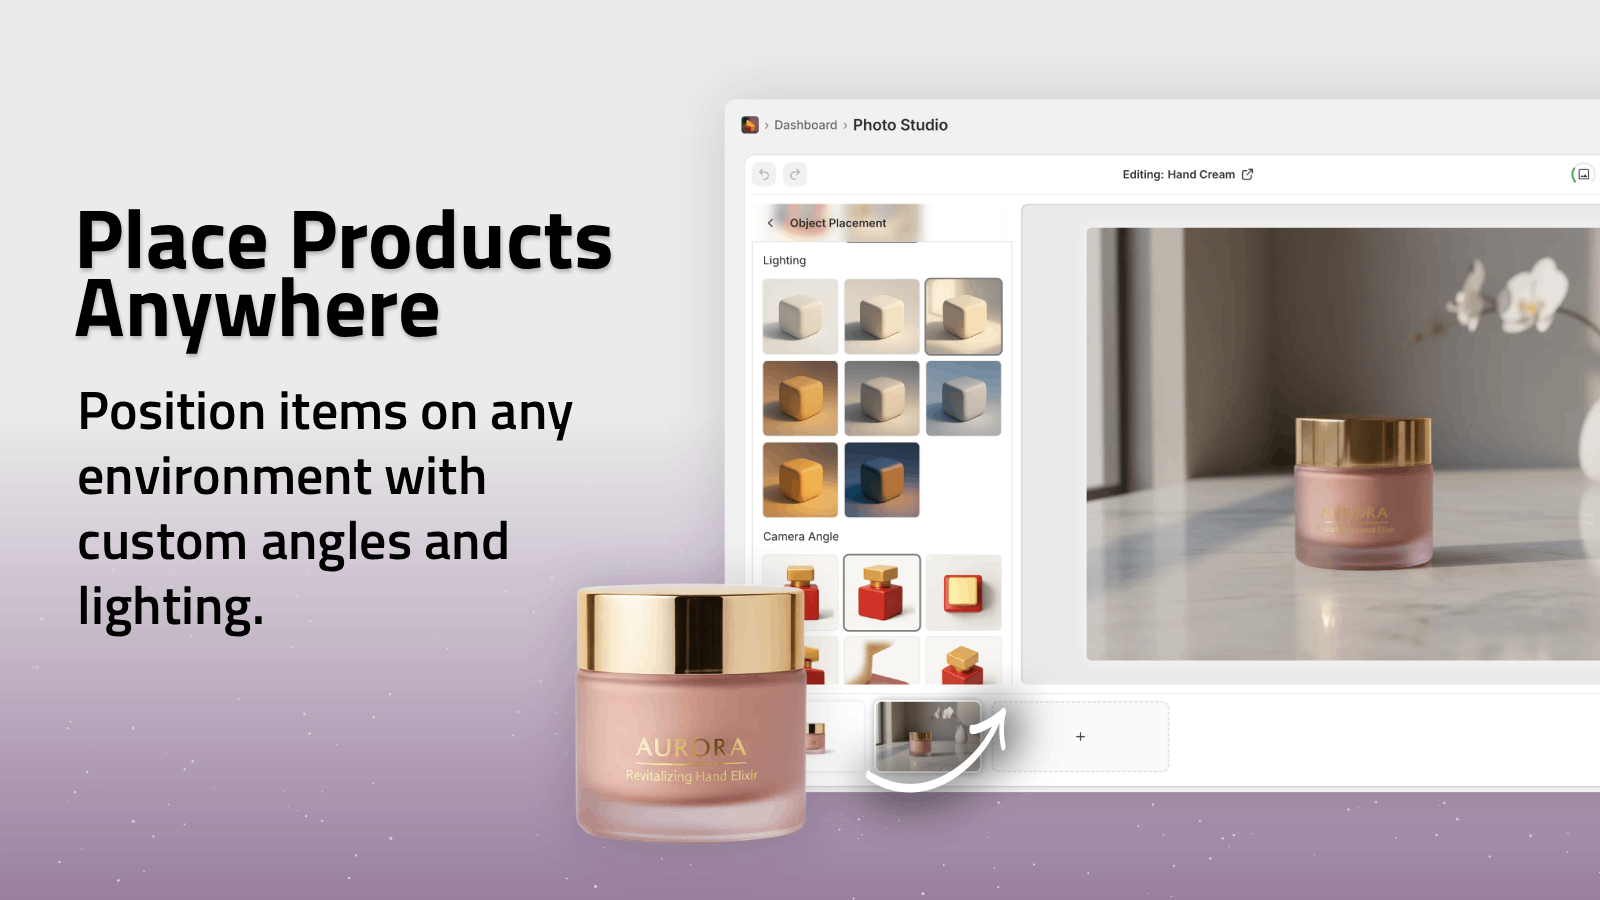
Option A: Object Placement (Perfect for Non-Fashion Products)
Use Object Placement in Supra AI Photo Studio to:
- Place your product in a kitchen, office, bedroom, gym, or outdoor scene
- Choose the surface type (wood, marble, fabric, etc.)
- Control camera angle and lighting style
Example ideas:
- Coffee mug → on a cozy breakfast table by a window
- Phone case → on a sleek office desk with a laptop
- Candle → on a minimalist nightstand with soft evening light
This gives customers context (size, use case, mood) without organizing a real photoshoot.
Option B: AI Try-On for Fashion, Jewelry & Accessories
If you sell apparel, jewelry, or accessories, use AI Try-On:
- Choose from a variety of realistic models or create your own
- Adjust pose, skin tone, and body type
- Keep product details accurate (fit, print, colors)
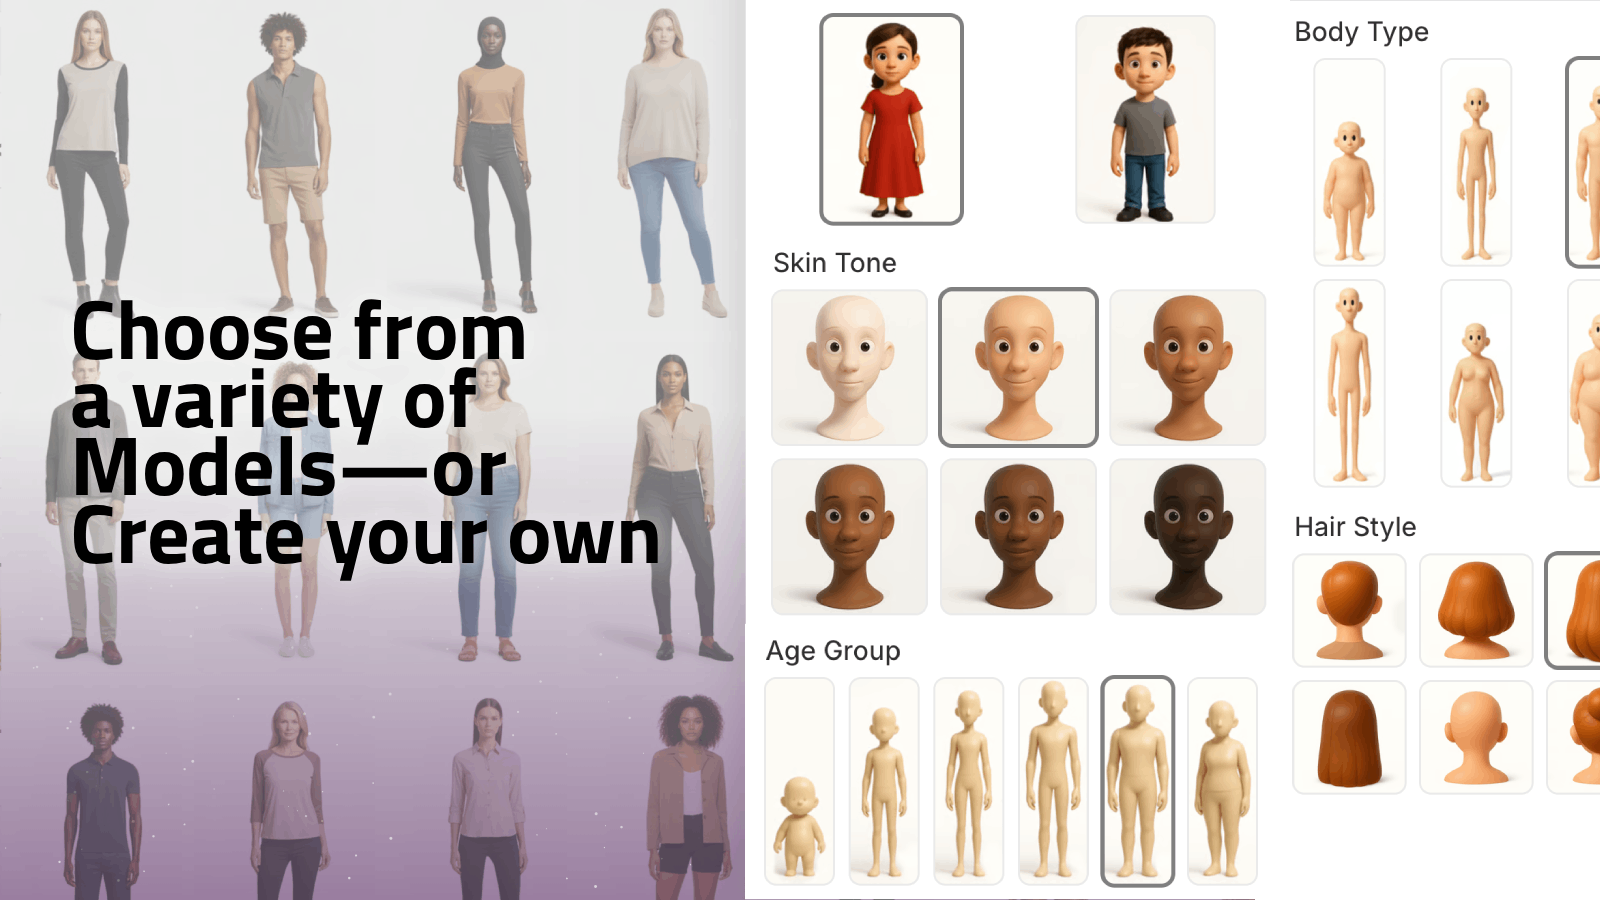
This helps you test multiple audiences and styles quickly: urban, elegant, sporty, minimalist… all without hiring models or renting a studio.
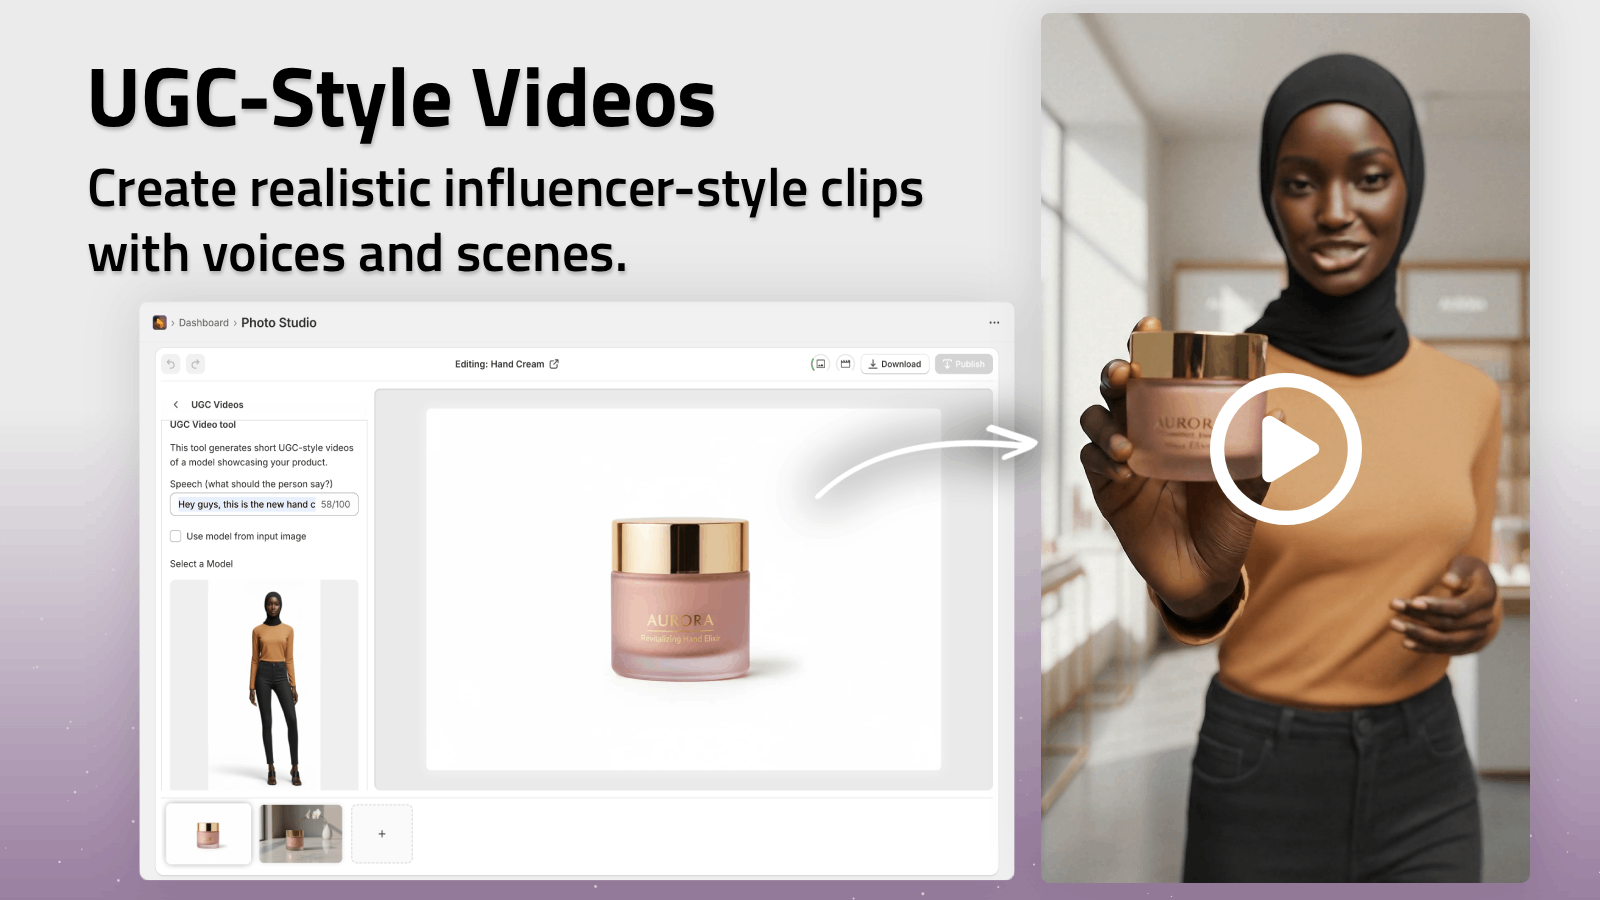
Step 6: Create Video Content Without Filming
Video is becoming a must-have for TikTok, Reels, and high-converting product pages, but recording and editing is time-consuming.
Supra AI Photo Studio lets you turn a single product image into:
- UGC-style videos that look like influencer content
- B‑roll clips with cinematic camera moves, splashes, and drops
Use cases for busy merchants:
- Top-of-funnel ads featuring quick UGC-style talking heads with your product
- Product page loops showing close-up b‑roll of textures and details
- Social posts that don’t require you to get on camera every time
You can see it in action in the demo: Supra AI Photo Studio Trailer.
Step 7: Publish Directly to Your Product Pages
After editing:
- Click Publish in the Supra AI Photo Studio editor.
- The new images/videos are automatically attached to the product in Shopify.
- Re-order the media on the product page so that:
- Image 1 = Clean hero shot (white/neutral background)
- Image 2–4 = Lifestyle or on-model shots
- Final slots = Detail shots, mockups, or short videos
No downloading, renaming, or re-uploading files across tools—everything stays in your Shopify admin.
Batch Workflow: Handle Dozens of Products Per Week
If you manage a large catalog, speed matters even more. Here’s a simple batch workflow using Supra AI Photo Studio:
- Shoot day: Capture simple, well-lit photos for 10–20 products.
- Upload all to Shopify in one batch.
- In Supra AI Photo Studio, for each product:
- Run Isolate Product + Auto Enhance (1–2 minutes).
- Generate 1–2 lifestyle shots (Object Placement or Try-On).
- Optionally create 1 quick video for bestsellers.
- Publish, re-order images, and you’re done.
With practice, you can get to 5–10 minutes per product, even with lifestyle scenes and videos included.
Best Practices to Keep Your Visuals Consistent
To keep your store looking professional (and to boost conversion rate):
- Use consistent aspect ratios (e.g., 1:1 square or 4:5 portrait) across your catalog.
- Stick to 2–3 recurring background styles that match your brand.
- Keep lighting direction and color temperature similar in most lifestyle shots.
- For fashion, define a few “brand models” in AI and reuse them for new drops.
Supra AI Photo Studio makes this easier by letting you:
- Reuse style choices in Object Placement
- Recreate similar lighting in scenes
- Reuse AI models for Try-On sessions
The result: your storefront looks like it was produced by a single, consistent creative team—even if it’s just you.
Why Supra AI Photo Studio Fits Busy Merchant Workflows
Supra AI Photo Studio is built specifically for Shopify merchants who don’t have time for complex tools:
- All-in-one editor inside Shopify – no exporting to external apps.
- Background removal, upscaling, and auto-enhance in a few clicks.
- AI Try-On for apparel, jewelry, and accessories.
- Object Placement for lifestyle scenes in kitchens, offices, outdoors, and more.
- UGC & b‑roll video generation for ads and social media.
Pricing is simple, with a free plan (4 AI image generations/month) to try it out before scaling up:
- Free, Standard, Professional, and Agency plans—see details on the app listing.
Put This Workflow Into Action Today
You don’t need a studio, a designer, or a huge budget to create high-conversion product images.
Use this workflow:
- Shoot simple, clear photos.
- Isolate and auto-enhance with AI.
- Generate lifestyle shots in minutes.
- Add UGC-style or b‑roll videos for your key products.
- Publish directly inside Shopify.
Install Supra AI Photo Studio on your Shopify store, run this process on your top 5 products, and measure the impact on click-through rate, time on page, and conversion rate.
Once you see how fast it is, you’ll never go back to your old editing routine.